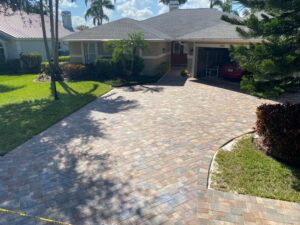
One way to ensure paver stability, and keep insects away after you complete the flooring project, is to make sure you applied the joint material correctly, and it’s fixed. But how to harden sand between pavers and make sure you have each inch of your investment covered?
Sand is still one of the best gap-filling options for pavers, but you must observe a few things if you want to ensure the best possible outcome. Otherwise, you can end up spending money unnecessarily buying more material. Thus, putting in some extra hours in your work too.
Don’t worry though, in this article, we will show you that the process is easier than you think, and we’ll walk you through it.
How To Harden Sand Between Pavers?
What’s the best solution when the question is: “-how do you harden sand between pavers?”
Regular sand, on its own, despite serving this purpose very well, doesn’t harden enough. The material does fill gaps between pavers and help lock the individual blocks in place quite well, so they don’t shift. But, regular sand tends to become soft when wet.
However, when sealing the pavers’ surface, the substance also comes into contact with the sand. When this meeting occurs, it causes the two materials to form an alloy, similar to mortar. Thus, effectively hardening the sand and helping to fix it.
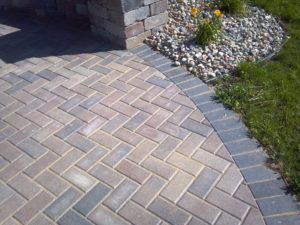
If possible, use irregular, sharp-grained sand, as they have sharp edges and bind together better.
What Is The Best Sand To Put Between Pavers?
Quality-wise, there is a material that offers even better results than regular sand; that being polymeric sand. Although more expensive, the it has excellent properties.
Usually, polymeric sand contains 85 – 90% quartz and crystalline silica, which is what gives the product its notably binding power. When you wet this sand, it activates the polymers, which harden the different components, effectively locking pavers in place.
Once hardened, the alloy won’t wash away easily with heavy rain or water from a hose. Meaning you won’t have to worry about replacing sand frequently to keep its joints filled.
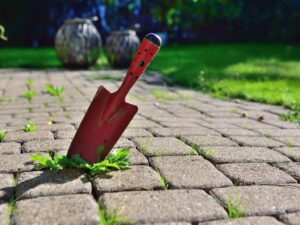
Polymeric sand also hinders weed growth, prevents insect infestation, among other added benefits.
Add all these qualities, plus sealing, and you won’t have to worry about if the sand is hard enough to stay in place for a long time.
How Long Does It Take For Sand To Harden?
We’ll cover two aspects here; first, if you choose regular sand, and then we’ll talk about polymeric sand.
Regular Sand
As we brought up earlier, regular sand doesn’t harden enough on its own. So, if you need it to set, the best way to do it is by sealing them.
You should give it at least 48 hours after applying the sealer. Foot traffic is ok after 3-4 hours. Acrylic sealers can take anywhere from 4-12 hours to dry before you can walk over it, but they will continue to harden for up to 48 hours after the application.
Polymeric Sand
With polymeric sand, there are a few differences. As we’ve mentioned earlier, the substance has properties that allow it to harden when wet. So, before you apply it over the flooring surface, you must first make sure your pavers are completely dry.
After carefully applying polymeric sand within the blocks, use a garden hose with a fine misting nozzle to dampen the joints. But do not overwater and do not let water pool.
Do this again every 15 to 20 minutes, three times to achieve the best results. Then, let it try for a minimum of 24 hours before allowing foot traffic, and 48 hours before vehicle traffic.
As for temperature, it should remain above 50 degrees Fahrenheit for 12 hours after application. Protect from rain for at least 12 hours. Then, after 48 hours, your project is complete and is ready for sealing.
What If It Rains After Polymeric Sand?
Before starting the process, make sure that there is no rain forecast for the next few days. As stated, polymeric sand will harden on contact with water. It will create a layer over the pavers’ surface, very difficult for you to remove in some cases.
If the haze on the paver’s surface is thin, you are likely to be able to wash it off with hose water. Repeat the process if necessary.
But, especially if the polymeric sand layer is thick, it forms rough clumps over the surface. Probably, you won’t be able to wash it off just with hose water, in which case you can pressure wash the polymeric sand.
The essential when using pressure wash is not to remove the polymeric sand between the joints. Thus, the most suitable pressure for cleaning pavers is the medium range (From 1600 to 2000 PSI).
For even better performance, use a hot water pressure washer at 180 ° F. The heat will reactivate the polymers in the product and allow you to strip away the sand. If it’s a smaller paver area, use boiling water.
Can You Do It Yourself
The information provided here should give you more than enough guidance so that you can do it yourself. Still, if you have a hard time or are unsure of how to do the job, remember that you can always rely on us to guide you through it.
Also, the complete process usually involves equipment and material that are often expensive. If fact, including your labor, DIY can become more costly than if you hire a company to do it for you.
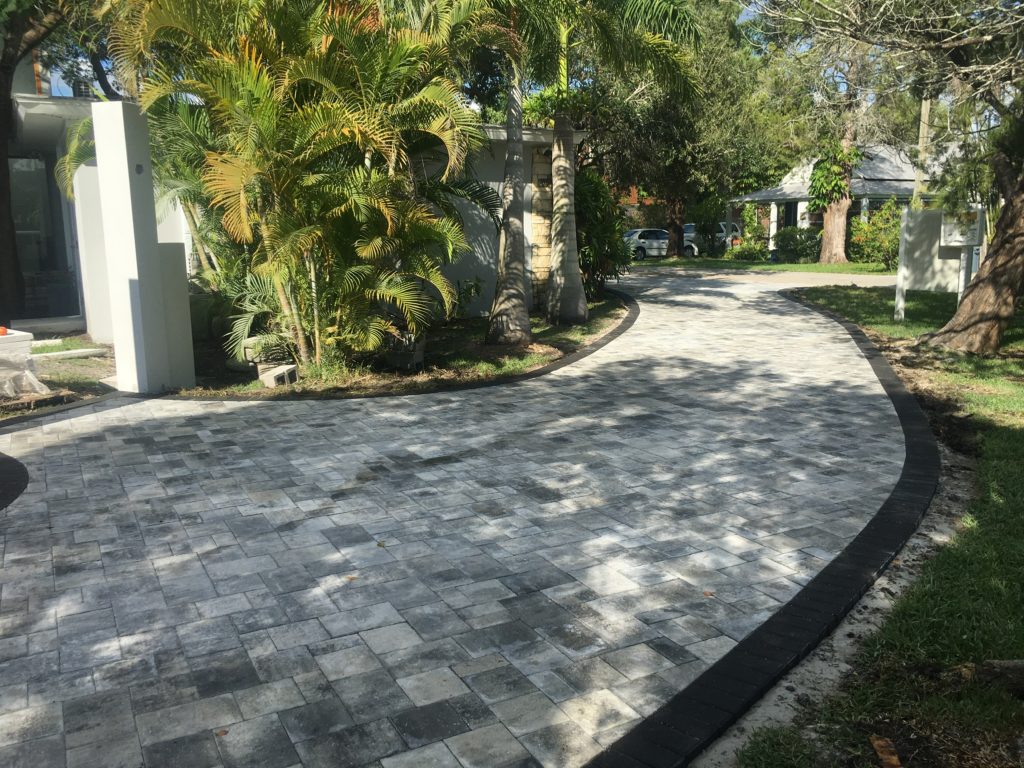
S&S Pavers has been proudly serving the counties of Manatee and Sarasota for the past 10+ years. From paver patio designs to installation and maintenance, if you live in Florida, don’t hesitate to give us a call.