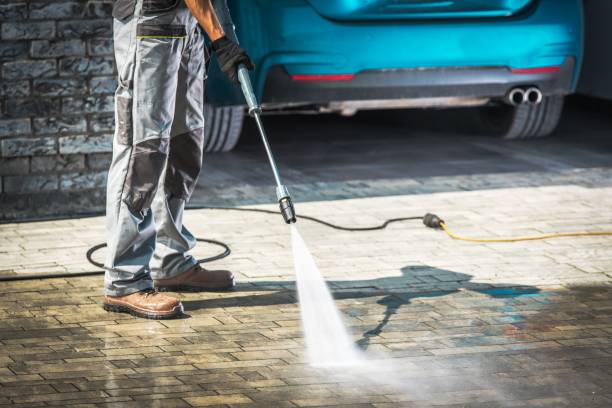
Many of us, when thinking about cleaning pavers, immediately think about getting our hands on a power wash. After all, it is the simplest and safest form of cleaning pavers, right? Wrong. Power washing actually takes more skill than it seems and can potentially damage your paver patio. When it comes to cleaning pavers yourself, there are better alternatives than power washing.
Power washing can cause all forms of damage to the pavers, like pitting, marks on the surface, and, even more dangerous, it can damage the joint sand between the pavers. If you absolutely have to use a power wash, it needs to be used with the correct pressure and only on the pavers themselves, never on the grout lines.
Still, it is risky and not recommended, so we are going to walk you through an option on how to clean your pavers without power washing.
How to Clean Pavers Without Power Washing – Products
We have some important considerations about the products you’re going to use before start talking about how to use them.
First of all: vinegar. Never use dark vinegar, ever. It is too acidic and can permanently stain your pavers. White vinegar, however, is ok to use, but always diluted in water in equal parts.
About soaps, you can use your everyday mild dish soap. A very common solution to clean pavers is to fill a gallon size bucket with water and add around 15oz of dish soap.
Bleach, also always diluted in water, can be used as a last resort to remove the most resistant stains and molds. Both the bleach and the vinegar will damage plants they get in contact with, so protect the plant life around your patio and be careful when you rinse it.
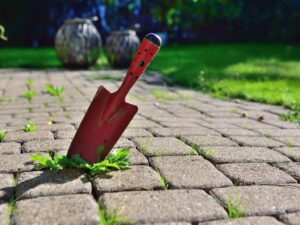
Step 01 – Cleaning Moss and Weed
If there’s moss in the grout lines of your pavers, you must start by removing them with a stiff brush. Be careful when pulling weeds in grout lines. If their roots are deeply settled, a harsh pull can move your pavers out of place. Start by loosing any vegetation with the stiff brush and brushing them away with a broom.
If you feel resistance as you’re pulling weeds, you’re probably going to have to spray your patio with a vegetation killer and wait two weeks before actually do the cleaning.
Step 02 – Saturate the Patio With Water
Simply cover your whole patio with water. You can use a rose, a bucket, whatever you have at your disposal. We do that to prevent the pavers from soaking up the cleaners we’re going to use later.
Step 03 – Apply the Cleaning Solution
Using the combination of water and dish soap we previously discussed, apply it gently on a small area and start scrubbing with a stiff-bristled broom, wire brush, or scouring pad. Be careful when brushing it. Don’t go overboard and end up damaging your pavers in the process. You don’t need to use too much strength.
Step 04 – Mold and Resistant Stains
If even after the cleaning there are still some stains that refuse to disappear or mold that refuses to die, is time to bring out the big (kind of) guns.
First, try to get rid of them with a solution of equal parts water and vinegar. Apply it to the area, let it rest for 10 minutes, and then gently scrub the area. If even the vinegar didn’t work, it’s time to try the bleach. The correct amount of bleach is 1 cup of bleach per gallon of water. Just like the vinegar, add to the area, wait, and scrub.
If even that didn’t work, you’re going to need the real big guns. There are several options for specialized products you can find at your local hardware store. Just make sure to ask for help in choosing the correct product as not to end up damaging your pavers.
Step 05 – Rinse the Entire Area
Once you’re done cleaning, is time to wash everything away. Try to direct the flow towards drains and, if you used vinegar or bleach, keep it away from plants. Once you’re done and have a complete outlook of the whole patio, you may see some areas that maybe you would like to clean more. To do that, just follow all the steps again and repeat the cleaning.
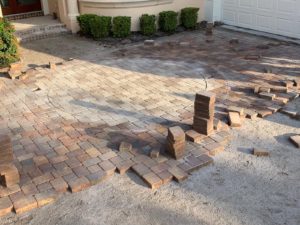
Step 06 – Re-Sand Your Pavers
Once you’re absolutely satisfied with the final result, you will need to re-sand the grout lines of your pavers. You will have to wait for a few days to make sure your pavers are completely dry before doing that.
When the entire patio finally dries up, you will simply have to add polymeric sand to the grout lines and sweep the sand all over the patio with a dry broom. Keep doing that until all the grout lines are filled up. At the end of this process, your patio will finally be clean and ready to go.
Maintenance and Proper Installation of Pavers
Ideally, to clean pavers without power washing, you want to constantly take care of them to avoid this kind of heavy cleaning. Clean spills immediately to avoid stains and always be on the lookout for mold formations, as they can indicate a lack of proper drainage. Try to also kill weeds between grout lines as soon as you see them.
But just a heads up, bad drainage, and formation of weeds indicate that your pavers are not properly installed, so maybe you’re going to need to ask for the help of professionals with that. Professionals can even help you in the most extreme cases by replacing pavers that cannot be saved by cleaning.
If you happen to be around the Sarasota and Manatee counties, you’re in luck, because the best professionals in the area can be found at S&S Pavers. With more than 10 years’ experience, they are ready to help you with, not only cleaning and fixing your patio, but with every hardscape need you might have.
Give them a call right now at 941-773-3098 for a free estimate of what you need.