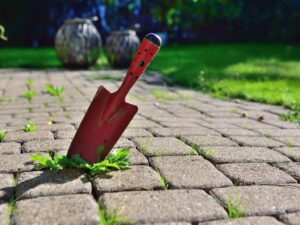
A very typical situation is to find people who seek us asking how to expand their patio with pavers. It’s a common thing. Maybe you thought you wouldn’t need such a large area and now realized that your current space is not enough to accommodate guests.
In any case, expanding the size of your patio may not be as hard or expensive as you might think. Incidentally, just like your original patio, the expansion will also become a valuable investment for your property.
However, this project also requires planning and hard work. After all, you want to enjoy the new space later, and not just worry about paying the bills. In this article, we will guide you through several matters. If all goes well in the end, you will have the confidence to take the next step.
How Do You Extend A Patio?
The best way to expand your patio is with pavers. Even if we’re talking about a concrete patio.
The paver patio expansion process is similar to a common paver installation, which you also can read about on the article
- Planning
First of all, decide which area your new patio will cover. It should be big enough to accommodate your ideas. A good practice is to draw your project, so you can have a better estimate on how many pavers you’re going to need. You can even use graph paper to draw to scale and plan like a true professional.
And speaking of professionals, remember that you can always turn to them to ask for guidance.
- Budget
Planning and resources go hand to hand. You need to see if the project you have in mind fits in your pocket. Either way, many companies offer excellent payment terms so you can get the job done without breaking the bank.
- Buy The Material
If you are doing the work through a contractor, they will know precisely how many pavers they’ll need. They will have tools and qualified employees for the task. If you chose to do it yourself, our only recommendation is that you do a lot of research before making the purchase.
It is easy to calculate how many pavers you’ll need. Simply divide the total area of your project by the area of the paver model you end up choosing. That will give you the number of how may pavers you’re going to need.
If your project is a simple squared or rectangular shaped area, add 5% more pavers to cover cuts and edges. If it is an irregularly shaped project, add 10% more pavers.
- Map The Area
After deciding which section your patio expansion will occupy, it’s time to map it using wooden sticks and strings.
- Prepare The Slope
Your new patio should slope off from the existing one for proper drainage and to prevent rain from pooling. To calculate this slope, add a ¼” depth to the excavation to every foot of the patio.
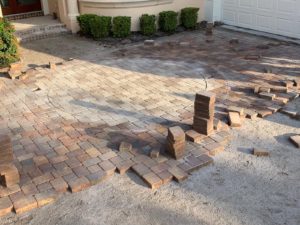
- Excavate
As in the original project, you will have to dig the soil, removing any debris from the area. The exact depth is 5″ + 1,5″ + height of the pavers, where 5″ is for the crushed rock base and 1,5″ for the sand base.
- Lay Down The Base Material
For a small area, you can use a hand tamper to compact the material. For larger spaces, you can use a plate compactor. That is necessary to ensure good stability under the pavers.
Start adding the crushed rock base of choice and compacting it. Next, add the sand, also compacting and screeding it.
- Put in Edge Restraints
Edge restraints help hold the pavers in place. They are hammered to the ground, usually using 12” spikes.
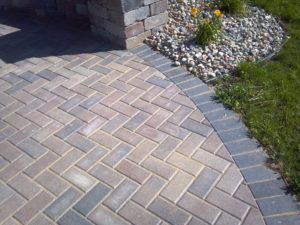
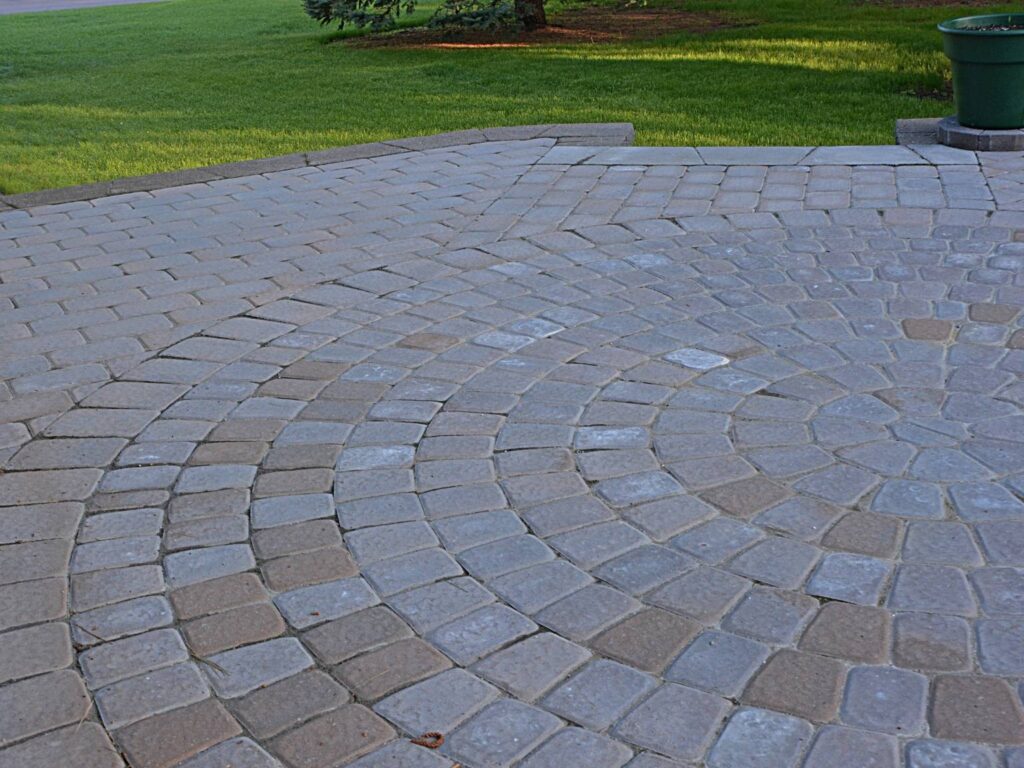
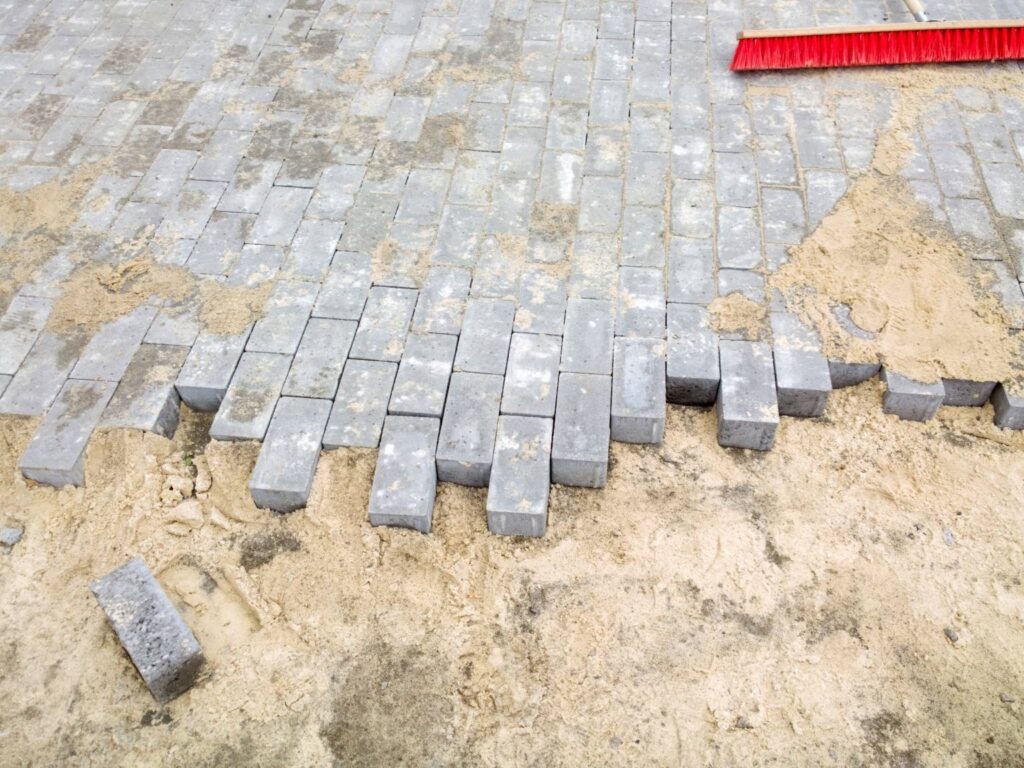
- Lay Down The Pavers
With the foundation now in place, begin placing the pavers, starting at the end of your patio. Place the pavers in line and don’t drag them over the sand. The intention is that you don’t move them around so that the sand doesn’t get displaced.
- Apply Joint Sand
You can use the plate compactor to tamp the pavers into the sand. To finish, fill the pavers’ joints with sand. The sand will prevent pavers from becoming loose. However, you may have to apply a new layer, since rain, or even traffic over pavers will make the sand settle between the joints.
- Seal The Pavers
Last but not least, apply a sealer over pavers. Every step of the paver installation processes is necessary, but you would be surprised by how many people ignore this one. The sealer not only protects pavers from moisture, but also prevents weeds growth, mold formation, and also helps to keep the sand between the joints in place.
How Much Does It Cost To Expand A Patio With Pavers
We can’t give you an exact number, as it varies a lot according to each project. However, in general, the patio expansion project with pavers is not more expensive than an original patio installation project. There is no extra charge related directly to the fact that it’s an expansion of an existing patio (if that’s what you’re worried about). So the prices are quite similar to any paver patio project.
The chart below will give you a basic idea (installation not included):
Type Each Average Per Square Foot
Brick (Real Clay) $ 0,25 – $ 4 $ 4 – $ 8
Thin Clay (Half Bricks) $ 0,25 – $ 2 $ 3 – $ 5
Tumbled Concrete Brick $ 0,50 – $ 5 $ 3 – $ 5
Thin Concrete Pavers $ 0,50 – $ 10 $ 2,50 – $ 5
Interlocking Concrete $ 0,50 – $ 15 $ 3 – $ 6
Stone Style Concrete Pavers $ 8 – $ 15 $ 5 – $7
Natural Stone & Slate Pavers $ 3 – $ 20 $ 7 – $ 16
The reason why the price range is so different (at least for some of the options) is related to two main factors:
- Production process
- And the cost or hassle of obtaining the raw material.
Thus, you can get the same paver types in different cost ranges. If you find them closer to you, it will significantly reduce transportation costs, for instance.
A paver patio adds so much value to a property that it’s not hard to understand why it’s one of the best investments people make. But you must take all the necessary precautions with your project, from planning to sealing. If you don’t feel confident doing it yourself, or you lack the experience, you can always count on experienced companies and personal to help with your project.
S&S Pavers has been proudly serving the counties of Manatee and Sarasota for the past 10+ years. If you live in Florida, don’t hesitate to give us a call.
FAQ
How much does a 20×20 paver patio cost?
That highly depends on the type of paver you end up choosing. The bottom price, considering the cheapest pavers and base materials, usually stays around $3,800. The top end however can go as high as $6,800.
Is it cheaper to build a patio with pavers or concrete?
Concrete is way cheaper than pavers. Concrete will usually cost around $7-$10 per square foot, while pavers cost approximately $9-$14 per square foot. Is it cheaper because it is a far inferior material than pavers. Long term wise, build a patio with concrete is not worth it, as it will probably last for a year or two before having to be replaced.
A paver patio, however, can last for a lifetime if properly installed and maintained. Even though it has a higher upfront cost, it is by far the best decision from a long-term perspective.
Can you lay new pavers over old pavers?
As long as the pavers are tightly in place and fit together without any problems, they are safe to be used. Combinations between new and old pavers can cause some aesthetic issues, but from a functionality perspective they work as intended.
Can pavers be installed directly on dirt?
No, that’s not a recommended practice. For pavers to perform well, they need to have a solid sand base on a permanent setting.