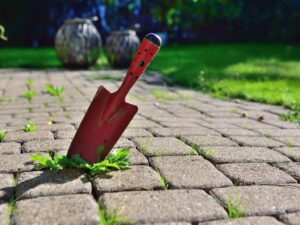
You can easily fix a loose paver using sand or, if the paver is located in a safety hazard area like a step, using landscape adhesive.
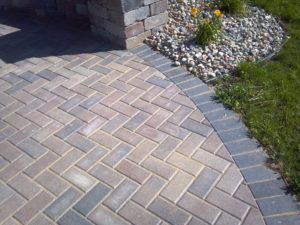
In the hardscape business, nothings beats a beautifully designed paver patio. The elegance and versatility of pavers are well known and well loved by professionals and customers alike. Well placed pavers can last for a long time with proper care, but, if they are not properly installed or if your terrain is not properly drained, they can get loose as time goes by.
We are going to present you a quick guide on how to fix that problem and discuss what can be causing it.
Why are your pavers loose?
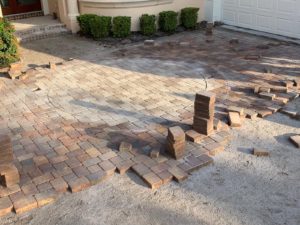
There are many motives as for why that might happen. Of course, when pavers are properly installed by professionals, most of these motives are accounted for and avoided from the start. But on a DIY project, they can cause some headaches.
- Compaction
In order to be even and firm, pavers need to be put on a very compact and solid sand base. Usually the proper amount of compaction is acquired by using a mechanical compactor. If one wasn’t used and the sand war poorly compacted, that can cause undulations on your paver, making them wobbly and, eventually, loose. - Spacing
All the pavers need to be evenly spaced amongst each other. This is not just for aesthetic purposes, it is also to ensure that there’s no excess space between pavers, making the entire installation stronger and more stable.
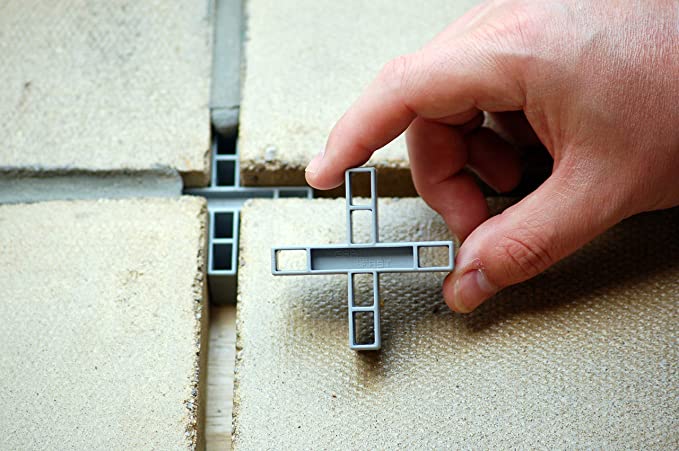
A device called a spacer helps with the proper spacing between pavers, and most types of paver already come with a spacer built into them. The ones who don’t though, still need to be installed using spacer that need to be bought separately. - Filler Sand
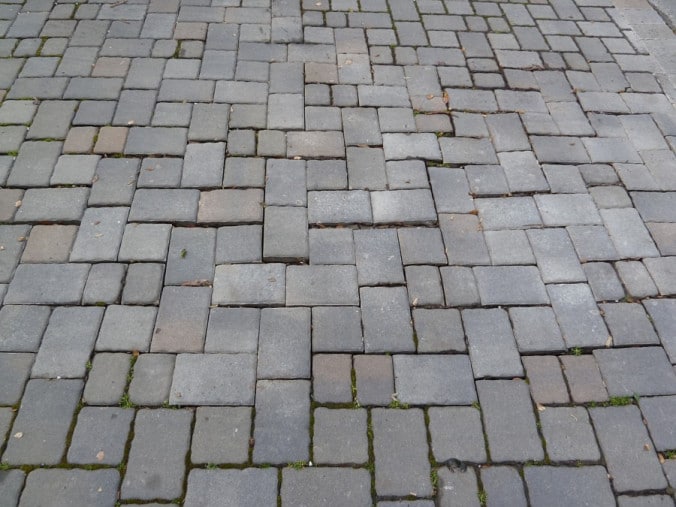
When the pavers are all set and done, you still to apply sand on the surface of the patio and sweep it to enter all the spaces between pavers. If you skipped that part, that can also cause your pavers to go loose in time. - Edging
Another important part of your paver project are the edges of it. It doesn’t matter if the center of your patio is properly secured, if the edges are not, your paver will loosen up. There are several ways in which you can add edge to your paver patio, make sure to choose one and apply it. - Soil Drainage
Make sure your patio has the proper inclination to let water flow easily and prevent pools, otherwise your pavers will absorb moisture and get damaged. Also, make sure the water system beneath the pavers is not leaking.
How to fix pavers on even surfaces
If your pavers are on an even surface where their looseness cannot cause an accident, the easiest way to fix them is to add more sand.
- First remove the loose pavers one at a time. You can use a flat-head screwdriver or any other narrow tool to help you in that process.
- Then pour approximately 1 cup of sand into each hole left by the removed pavers and level it with your hand.
- With the sand properly leveled, put the paver back and rock it back and forth. Make sure that the paver is properly leveled with the ones around it. If the pavers is still loose, repeat the process.
- After that, spread sand on the top of the paver and sweep it to the gaps between the pavers. You can then wet the sand, repeating the process until all gaps are filled.
How to fix pavers on dangerous surfaces
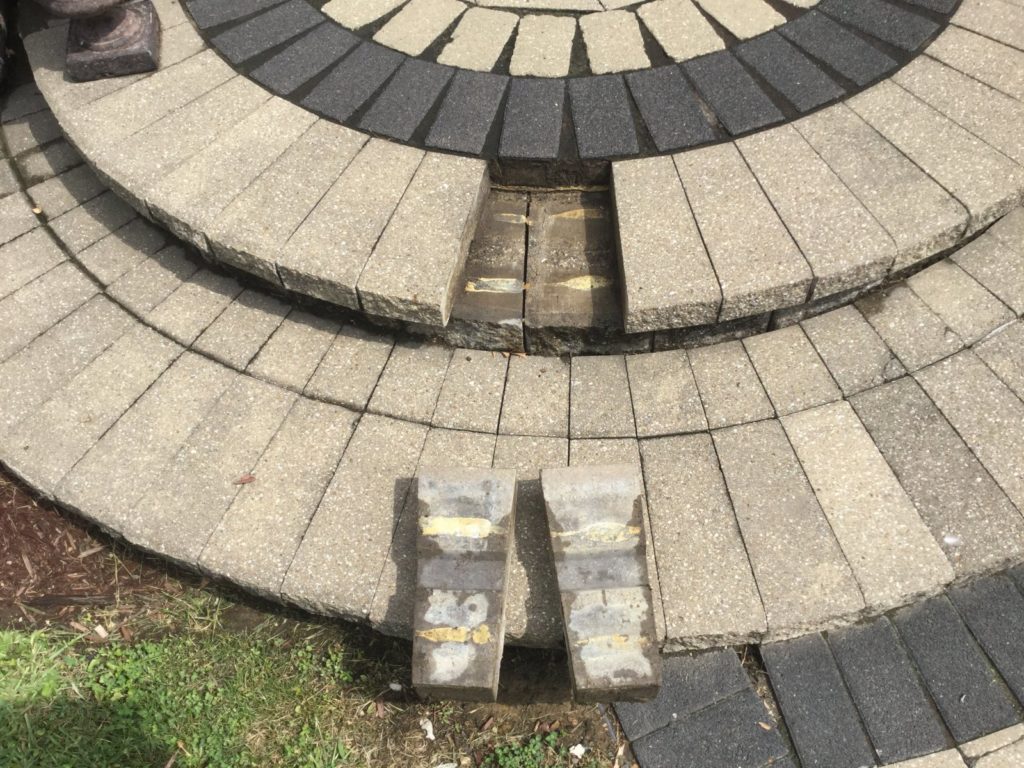
The last thing any of us want is an accident. You simply cannot afford to have loose pavers that are placed in places like steps and ramps, where they cause an accident if not properly secured.
If the pavers in question were applied on a bed of mortar, fixing them can get very complicated, albeit doable.
- First, using a hammer and chisel, you need to chip away any old mortar from the aggregate, being careful not to damage the aggregate itself.
- If you have and angle grinder, you can use it to make a few careful shallow cuts both on the aggregate and on the surface of face of the paver that is directed to the ground.
- And then you to need to add new mortar and put the paver back in, making sure they are on the same level of the ones around it and properly spaced as well.
If the pavers were put in place without mortar, fixing them is way easier.
- Just like on a regular surface, remove the loose paver using a narrow tool.
- With the paver removed, use a brush to clean the remaining sand around the paver and form the gap.
- Add landscape adhesive to the face of the paver that is facing the floor and put it pack into the gap. Give it a few taps with a rubber mallet, making sure it’s on the same level as the ones around it.
- Leave in there for 24 hours. Secure the area so no one can accidentally walk on it.
- After the 24 hours have passed, spread a generous amount of sand around the paver and sweep it its cracks. It needs to very secured and stable, so wet the sand and repeat the process until the cracks are completely filled.
You can avoid all that trouble by calling experts
Of course, as we mentioned above, it is way better to call for the help of professionals to rather than having to fix these problems as they appear in your DIY hardscape. They are prepared to prevent these problems from even happening and are equipped to make sure your pavers get in place for a long time.
If you’re around the Sarasota or Manatee counties, you will find the best professionals in the field on S&S Pavers. With over ten years of experience, they are prepared to give full dedication to your outdoor project. Call them right now at 941-773-3098 for a free estimate.