Once you decide to go with pavers for your home patio, you’ll probably wonder about the best way to lay them. If that is the case, good news for you: anyone looking to know how to install pavers will find that the task can be done step by step with patience and attention to detail.
For starters, pavers are generally used by those who appreciate their intertwined design that promotes a strong and welcoming aesthetic between two or more destinations. In open areas, its non-slip surface provides a safer pathway to pedestrians and vehicles alike as it blends with the surrounding nature, oftentimes even connecting uneven places.
This article will guide you through all the steps of paver installation, from the specific tools to all the materials involved in the process.
How to install pavers
Pavers are arranged together like a puzzle, with sand filling the gaps in between. This means that there is no need for any type of machinery or special material to make them stick to the surface, which makes for a fast and quite repetitive technique.
However, when installing pavers, it is surface preparation that needs special attention. The ground must be leveled and compacted with layers of sand, following the recommendations of the manufacturer of the material used. Although pavers have the advantage of being easy to remove, you won’t want to do it all over again – always make sure that they come from a qualified source, especially considering the area they’ll be jammed into.
Essential Tools
You will need:
- Measuring tape
- Shovels and hoes
- Pencils
- Brooms
- Nylon Threads
- Trowel
- Picket
- Plate compactor (recommended)
Depending on the conditions of the project area, you may need alternative instruments to prepare the soil for the installation. After gathering it all up, it’s time to get to work.
Paver installation: Step-by-step
With all this information, roll up your sleeves, and let’s get started!
Drawing out the plan
Obviously, nothing is better conceived than something that has a model to be based on. Get your pencils and pens to map out the whole thing, so you have a general idea of your resources.
It’s important to remember that before installing pavers, you have to check with your local utility companies before beginning to ensure that you don’t strike or obtrude any cables or pipes.
Outline the area
Outlining helps the locate service see exactly where the work area. You can use strings or garden hose to mark your project and drive stakes to hold the outline in place and a triangle to make clean corners.
Scope your slope
This step is super important to avoid water pooling on your pavers, you want your pavers to be slightly above the surface of the surrounding ground at all points. To ensure adequate drainage.
Create a slope of one inch to every 4 feet of length. This slope should be added only in the direction you want the water to flow. You must get the slope right.
Excavation
The most time-consuming part. To keep your pavers from ever popping out, there needs to be enough digging to lay the base into. Areas that will be exposed only to foot traffic, generally need 4 to 6 inches of base material, while projects that will hold a lot of weight or friction may need 12 inches of base and to avoid dips and bumps you can use a compactor to adjust the ground.
Add crushed gravel
Add 6 inches of gravel to the entire excavated area, and then compact with a hand tamper and repeat this process until you have a base of the correct depth.
Install paver edge restraints
Edge restraints are very important to hold the shape of your project over the years. Place them around the perimeter of the area securing them into the ground by pounding 12” spikes. If the area is shaped irregularly, cut the restraints to follow the edges of your design.
Add sand
After the gravel and the edge restrains, add sand a layer of at least 1 inch. Then, slightly increase or decrease the thickness of the base as necessary, taking frequent measurements from the strings to the base.
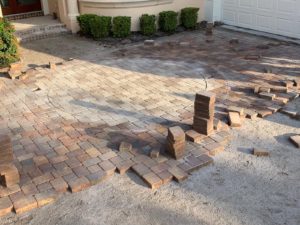
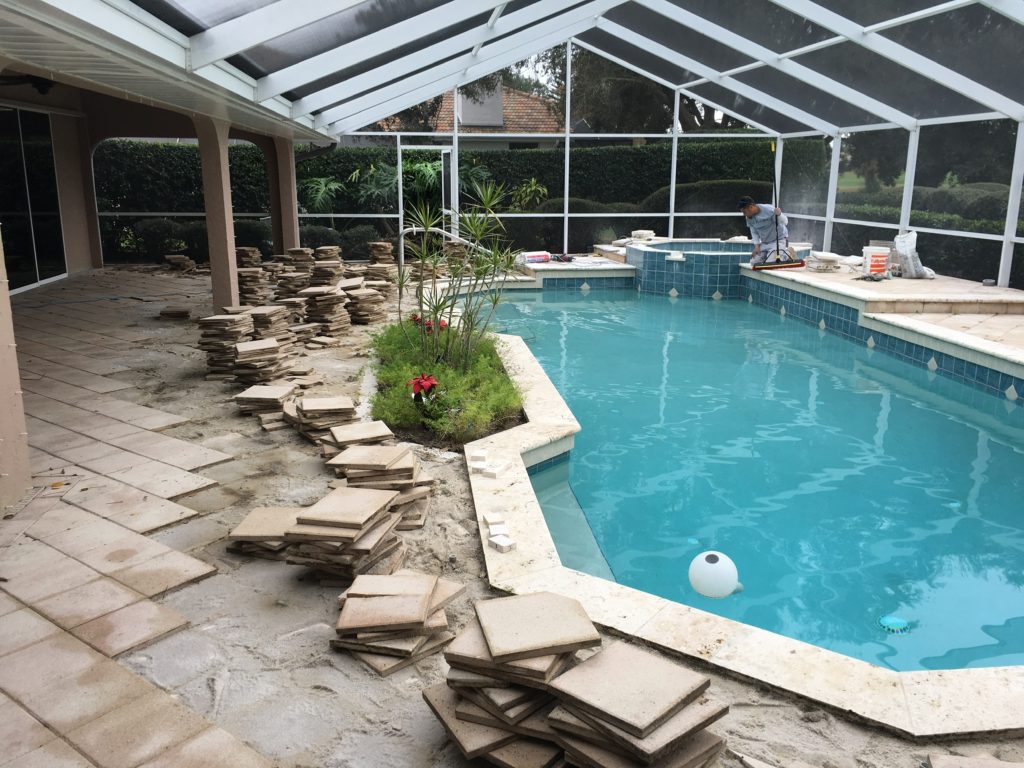
Installing the pavers
Settle the pavers in the ground according to the pattern of your choice and make sure to push them against the sand so that the sides are stuck together. Try to keep the pavers as close as possible, because if there are wide gaps between the pavers, then you will need more sand to fill those gaps.
If during the installation you notice that the pavers aren’t small for some gaps, feel free to cut them to fit.
Tamping
After the pavers are all placed according to the chosen pattern, use a plate compactor to create pressure on the pavers and make sure to undergo this process at least a few times.
Sweep sand into the joints
After tamping, fill the joints between pavers with sand. Pour the sand onto the pavers and sweep it into the cracks with a broom until they are all filled. This sand helps to “locks” the pavers in place.
On installation
Some of the main benefits of installing pavers include:
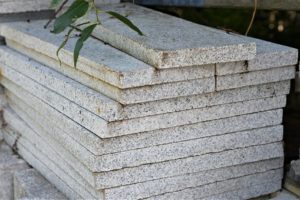
Personalized colors and designs
Contrarily to other materials, pavers come in different shapes and tones to appease all tastes, allowing people to create unique patterns for their homes.
Instant availability
There is no need to worry about it drying once it’s done. Be it people or vehicles, anyone can cross over it right away.
In short, in addition to the low cost and sophistication, installing pavers can bring great versatility to any space. It is a sustainable way to give a new look to your favorite places – not counting the fact that, if done right, your pavers can last up to 20 years with periodic maintenance every three years.
Still in doubt?
Even with our tips, things might get a little confusing for first-timers. If you still have no idea where to start or how to proceed, contact us! We can help you out with free estimates for your project and much more! It’s always our pleasure.
S&S Pavers has been around the counties of Manatee and Sarasota for the last 10+ years. If you live in Florida, don’t hesitate to give us a call!