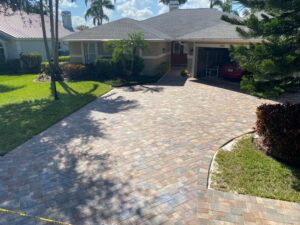
Paver patio installations are no small feat. Ask anyone who has ever tried to tackle it as a DIY project: one of the hardest elements of it is how to measure slope for paver patio, and that’s what we want to focus on today.
That may come as a surprise, but the slope is, by far, the most important part of any paver installation. This is because proper drainage is crucial to any paver patio installation, and the slope directly influences the drainage of the installation.
Not to be blunt here, but if you came to this article expecting a simple guide on how to quickly measure slope and be done with it, then you are already making some serious mistakes with your installation.
That is not how a paver installation should be approached. You need to take your time, plan it right, think about every step, and carefully choose the materials you’re going to work with.
We hope you take your time reading this article to understand not only the importance of the slope, but also get a grasp on how complex pavers installations can be and how they should not be taken lightly.
So let’s get right to it and teach you how to properly measure a slope for your paver installation.
How to Measure Slope for Paver Patio?
Every paver dry installation starts the same: by digging. It is at this moment that you will create the slope.
After digging the necessary amount that your installation requires (between 4 and 6 inches for pedestrian walkways and 8 to 12 inches for driveways), you’re going to calculate the slope and dig a little bit more.
Let’s talk about the materials you’re going to need:
- Two stakes;
- Hammer;
- Construction line;
- Measuring tape;
- Line level;
- Masonry pencil;
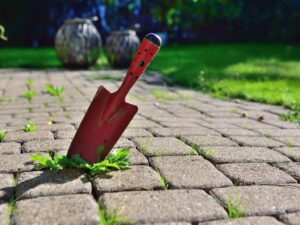
- Shovel.
Step 1 – Hammer the stakes
Before doing anything, you have to think about where do you want to direct the water flow on your installation. The idea is to always move water away from the house or any other buildings that will be next to the installation.
So we think of slope in terms of high point and low point. The high point is the point in the installation closest to the nearest building, the low point indicates the direction in which the water will flow.
Start by deciding where these two points are and hammering the stakes into the ground in each of them, inside the hole.
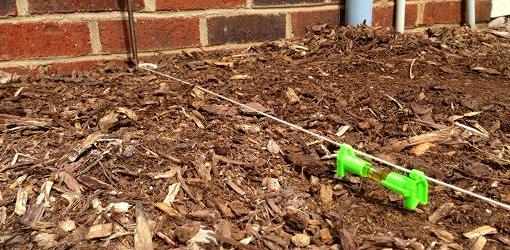
Step 2 – Tying the construction line
Once the stakes are hammered and secured in place, it is time to tie the construction line from one stake to the other, keeping it as tight and close to the ground as possible.
Use the level line to help you make sure everything is properly leveled.
Step 3 – Measure the installation and calculate the slope
Now measure the length of your installation by using the line as a guide.
Now for the math part. The recommended slope for a paver installation is 1 inch every 4 feet. That means the hole should be 1 inch deeper for every 4 feet of the distance you measure.
Simply divide the length of your installation by 4, and that will give you how many inches you’ll need to create the slope.
Step 4 – Adjust the lines
Now go to the lower point of your installation and carefully slid up the stake, without untying the construction line. Measure that amount of inches down the stake, using the construction line as a starting place.
Mark it with a masonry pencil and, just to be sure, mark it around the construction line as well. Slid the stake back into place.
Step 5 – Digging
Now you start digging around the lower point stake until you can find the mark you have previously made with the masonry pencil. Once you find it, stop and slid the construction line to that point.
Now you’ll have to go digging in order to allow the construction line to be tight on the ground again, always checking the level with the level line and being careful not to ruin the construction line you’re using as a guide.
After following all these steps, you’ll have successfully established a slope for your paver patio.
Professional Help on How to Measure Slope for Paver Patio
As you could see, the process is not exactly easy. It involves a lot of calculations and a lot of digging. Any mistake can cost greatly in the future.
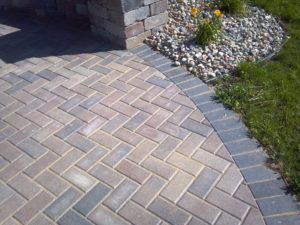
Pavers are an amazing investment, albeit a costly one. Think about them as a small renovation you are making in your house. In fact, pavers even add value to your property. When done properly, this increase can reach up to 30%.
So every step you take with paver installations should be handled with utmost care. The best thing you can do is hire professionals to help you with it.
You see, qualified hardscape professionals have all the tools and techniques required to make sure your investment does not go to waste and you’re left with the best possible installation.
We here at SS Pavers, over the course of our 12 years of activity in the business, have seen many installations go terribly wrong simply because people decided to tackle more than they could handle from a DIY perspective.
That’s why we always recommend hiring experts in your area whom you can trust. We are established in Florida, in the Sarasota and Manatee counties – so in case you live near us, don’t hesitate to speak to our team anytime you need!
Call us right now at 941-773-3098 or email us at sales@sspavers.com. We would be more than happy to help with any hardscape need you might have.