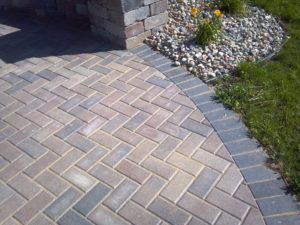
A paver installation involves many aspects that require careful planning and execution. One of those elements, and an often forgotten one, is how to use joint sand correctly.
A perfect paver installation is one of the most sought after elements in hardscape design. From paver choice, to patio design, everything is carefully planned to create the most beautiful project possible.
Still, many people forget about the final and arguably most important step of the installation: the joint sand. So why is it so important, and how does it contribute to create a perfect paver installation?
Let’s give you the ins and outs of it and how to use joint sand in the most optimal way possible in your paver installation.
How to Use Joint Sand
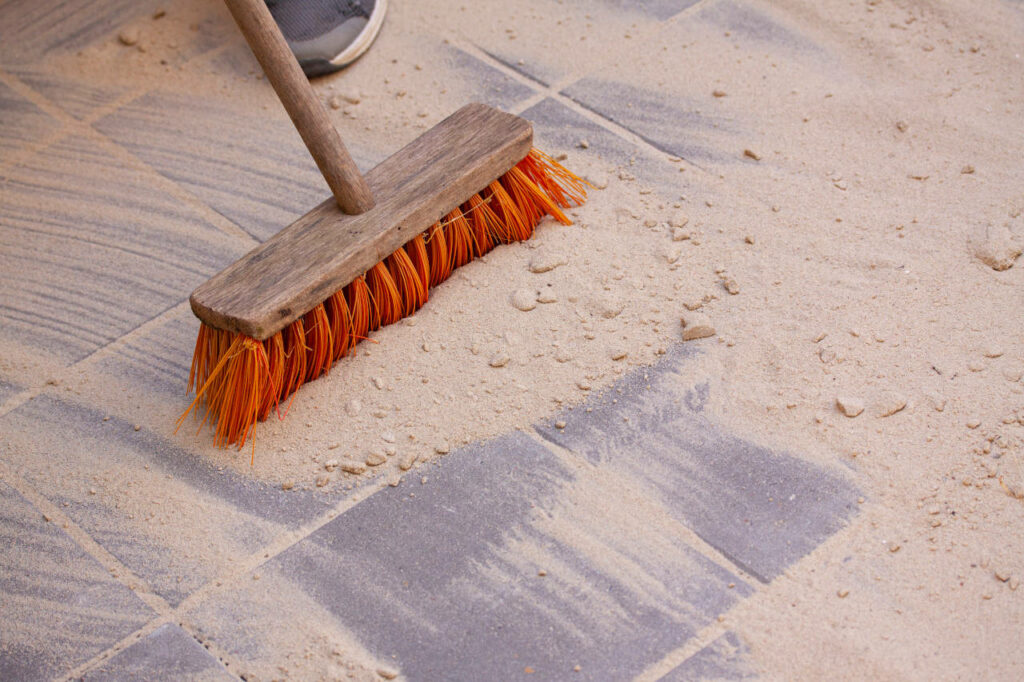
The joint sand is added as the very final step of a paver installation. After the pavers are all set in place, sand is poured on the entire area and swept to fill the joint lines between each paver.
This is an extremely important step, as it is pivotal to create the interlocked system pavers are so famous for.
This interlocked system is what allows pavers to distribute the weight evenly amongst themselves. This preserves the structural integrity of each individual paver and contributes to the longevity of the installation.
The wrong kind of sand can compromise that function and cause real structural damage to what could otherwise be a perfect paver installation.
For those reasons, the use of the right kind of sand needs to be taken as seriously as any other aspect of the installation would.
As for the application of polymeric sand, there’s no mystery to it. At the end of the installation, once all pavers are set, you pour the polymeric sand on the grout lines of the pavers, sweeping the sand around with a broom until all the joint are filled.
Once the joints are filled and the excess sand is swept away, wet the pavers with the help of a hose on a shower setting. You don’t need to rinse the area, just enough to moisture the entire of the installation.
Give 24 hours for the sand to cure before allowing foot walk, and 48 hours before vehicular traffic.
Polymeric Sand: The Right Joint Sand
The only sand that is capable of creating a perfect interlocked system is polymeric sand.
Polymeric sand is created by adding polymers and chemicals to fine grains of sand. When wet, it creates a strong bonding agent that locks the pavers in place and allows the interlocked system of weight distribution to take place.
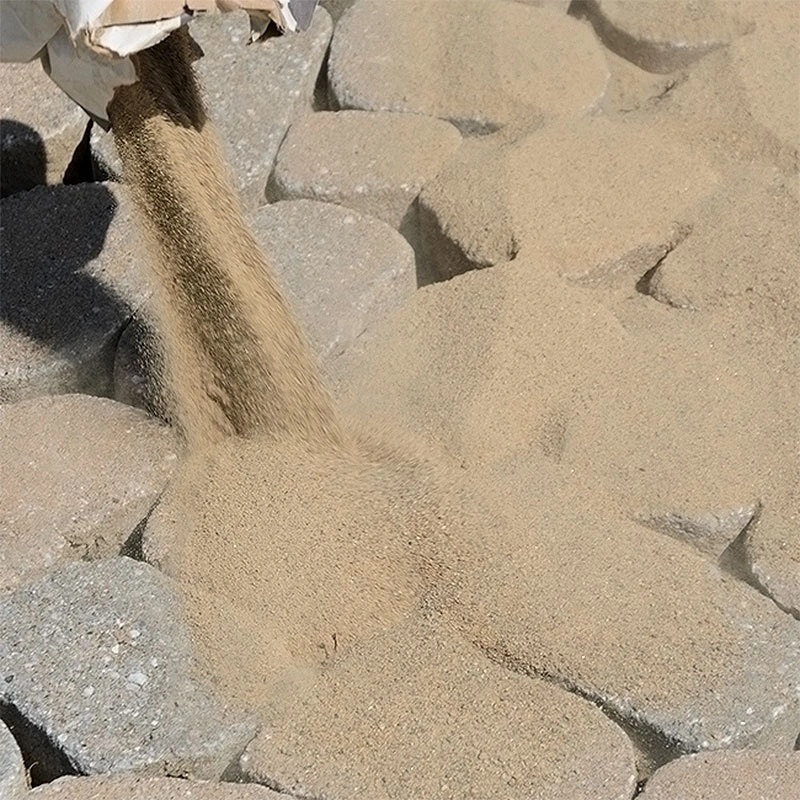
The alternatives you can use are regular sand and mason’s sand.
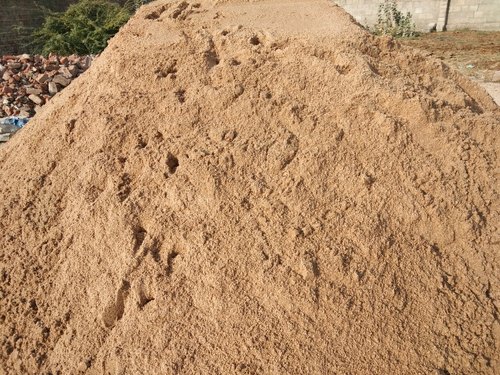
Regular sand is the worst one you can use for joints. It fits the purpose well enough when used as a base for pavers, but it doesn’t hold the job well enough for joints.
For once, it is too coarse, with big particles with wide spaces between them through which water can easily flow, causing possible infiltration problems.
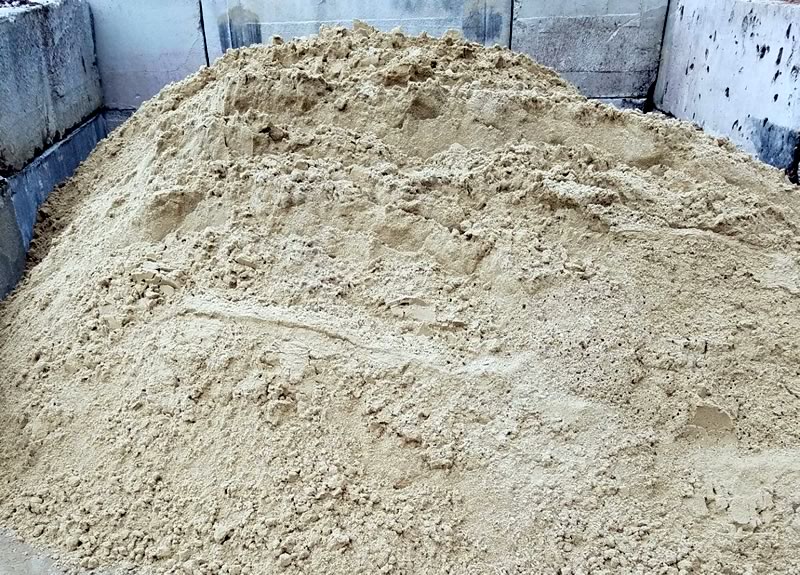
Mason’s sand is your second-best choice. It is basically polymeric sand, as far as quality of sand goes, but without the additions of polymers and chemicals.
It is the best sand you can use as base sand, and it can be good enough to be used as joint sand.
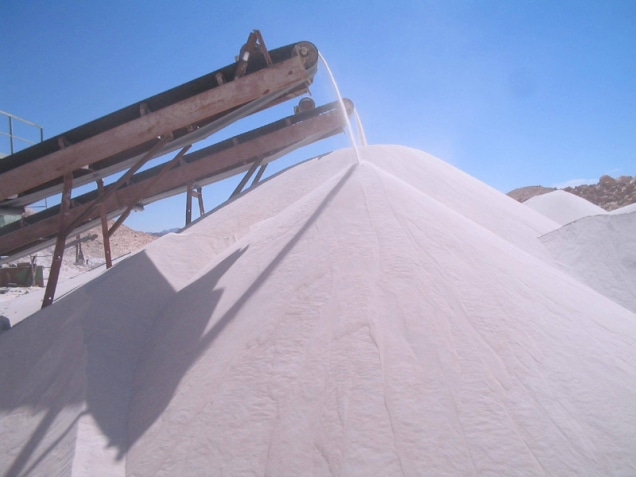
There is yet another type of sand available in the market that is even finer than mason’s sand, called silica sand. It is a high quality sand, composed only of quartz.
It is much more expensive, and for that reason not usually used for construction purposes. However, it can potentially be an even better replacement for polymeric sand.
Paver Maintenance: The Role of the Joint Sand
As we mentioned, the joint sand is fundamental to keep the pavers in place and the interlocked system to work.
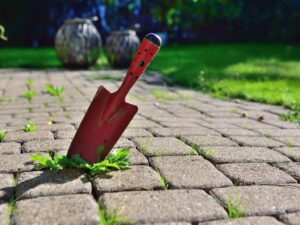
A big aspect of paver maintenance is the control of weeds between joint sand. Ideally, you have established proper drainage during the first steps of your installation. Proper drainage alone can be a big help against the formation of weeds.
Still, polymeric sand helps tremendously in the control of weeds, since it doesn’t allow space for weeds that come from beneath to break through.
Alongside the use of polymeric sand, a simple addition of borax in the sand used as a base already prevents weeds from growing, as well as keeping insects away.
Sealing is also an important aspect of paver maintenance. Sealing protects your pavers from absorbing stains and against weather effects. In combination with polymeric sand, it creates a virtually impervious system that can last for a lifetime with proper maintenance practices.
These practices consist of regularly sweeping your pavers to keep it away from debris and a deep cleaning every two months or so. This deep cleaning can be performed using a pressure washer, as long as it is kept from a safe distance and with the proper pressure setting.
Start at a distance of 1 foot from the pavers and with the lowest possible pressure setting, adjusting accordingly. Your goal is to remove the dirt, never the sand, so focus on the pavers and stop immediately if at any point you see sand being dislodged.
Professional Help With Paver Installation
Now you know the importance of sand in a paver installation and how dangerous it is to overlook it.
Here at S&S Pavers, over our 12 years of experience, we have seen many installations be ruined by this sometimes inconspicuous aspect paver installations.
That’s why we always recommend to hire professional help in your area to guide you through the process. Pavers are an investment that can add tremendous value to your house, so you want to make sure you’re left with the best possible job.
In fact, if you happen to be around our area of activity, the Sarasota and Manatee counties, in Florida, why not give us a call to help you?
You can contact us any time for a free estimate on our services. Call us right now at 941-773-3098 or email us at sales@sspavers.com. We would be happy to hear from you.


