In the world of hardscape design, pavers are king. Few things can beat the elegance pavers bring, both in interior and exterior design. Paver maintenance can be very simple if you choose the right set of pavers for your project and keep a regular cleaning schedule. Be as it may, eventually you’ll have to replace the sand in your pavers, and we have a simple guide to help you do it.
Many homeowners have already discovered the wonderful, reliable, and elegant world of paver patios. With a wild array of options when it comes to design and material, pavers are quickly becoming the number one choice for the most innovative hardscape designs.
Installation should always be done by professionals if possible, as there are a lot of things to consider before a long-lasting and quality installation. However, the maintenance of pavers, including the replacing of the sand, can be very simple if you follow the correct steps.
Replacing Sand in Pavers: Why is it Necessary?
Applying sand to your paver patio is the final step of its installation. This is done for two reasons.
The first reason is to secure the pavers in place, keeping them tightly locked between each other. Pavers need some small leeway to move around and fit the terrain as they are being used, that’s what makes them such a good choice for so many different occasions.
This leeway needs to be properly established. If you keep the pavers too tight, they will have no time to expand and contract with temperature differences. This is particularly important in regions that undergo constant freeze-thaw cycles.
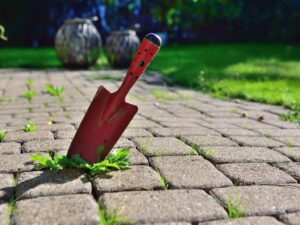
On the other hand, if the pavers are not tight enough, they will become wobbly and can cause some accidents in the long run. The space between them, if not properly tight, is a wonderful place for weeds to grow, which can in term ruin your entire paver installation.
This is actually the second reason why we secure the pavers with sand. Weeds, mildew, and insects are the number one enemy of a paver installation. That’s because they love the tight, humid, dark spaces between the pavers. The right kind of sand prevents the development of those enemies and ensures your installation lasts longer.
The Right Kind of Sand
In time, the sand will be washed away, one way or another. Natural erosion of the soil, rain, freeze-thaw cycles, all contribute to this. Now that you understand the importance of replacing the sand regularly, is time to talk about what is the right kind of sand to use.
There’s not really a “wrong” kind of sand to use, some just work better than others.
If you go with regular sand you’ll do just fine. It will easily fulfill the objective of locking your pavers in place. Albeit it is not the best option to prevent humidity, and therefore weeds and mildew, from accumulating in the spaces between pavers.
To prevent that you want to use polymeric sand. It is a more expensive option, but the benefits are well worth it. First, polymeric sand is made almost exclusively out of quartz and silica, which creates a powerful biding agent when wet together. That means that you won’t be washed away as easily as regular sand would.
Polymeric sand also prevents weeds and insects from growing between your pavers, since the silica is poisonous to them.
Replacing Sand: 5 Easy Steps
1 – Protecting Plants
First, you will have to protect the green life around your pavers using some form of tarp or geotextile fabric, especially if you’re planning to use polymeric sand. That includes your lawn as well.
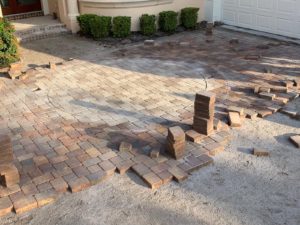
2 – Pressure Wash Your Pavers
The next step is to use a pressure washer to remove any leftover sand, as well as any other possible debris from your paver patio.
3 – Sweep off Your Patio
You will probably be going back and forth between broom and pressure washer to completely remove any debris and sand from your patio. Just make sure you have no leaves, rocks, twigs, or sand between your pavers before you move to the next step.
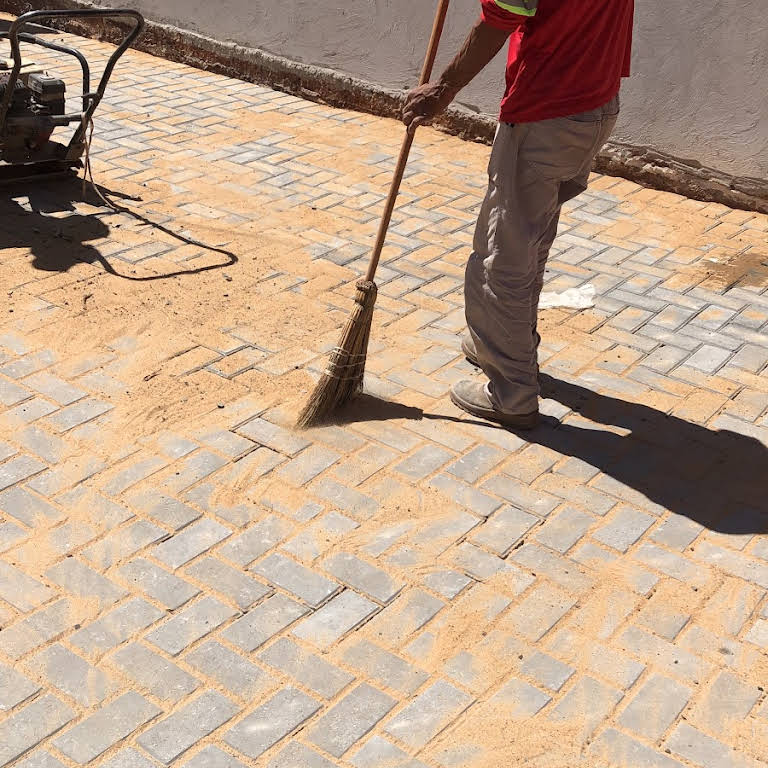
4 – Adding Sand
Now is finally time to add the sand to your patio. Carefully pour the sand between the grout line of the pavers until they are filled. It’s ok to surpass it a little. Make sure to fill every grout line, moving the pavers slightly to compact the sand between them.
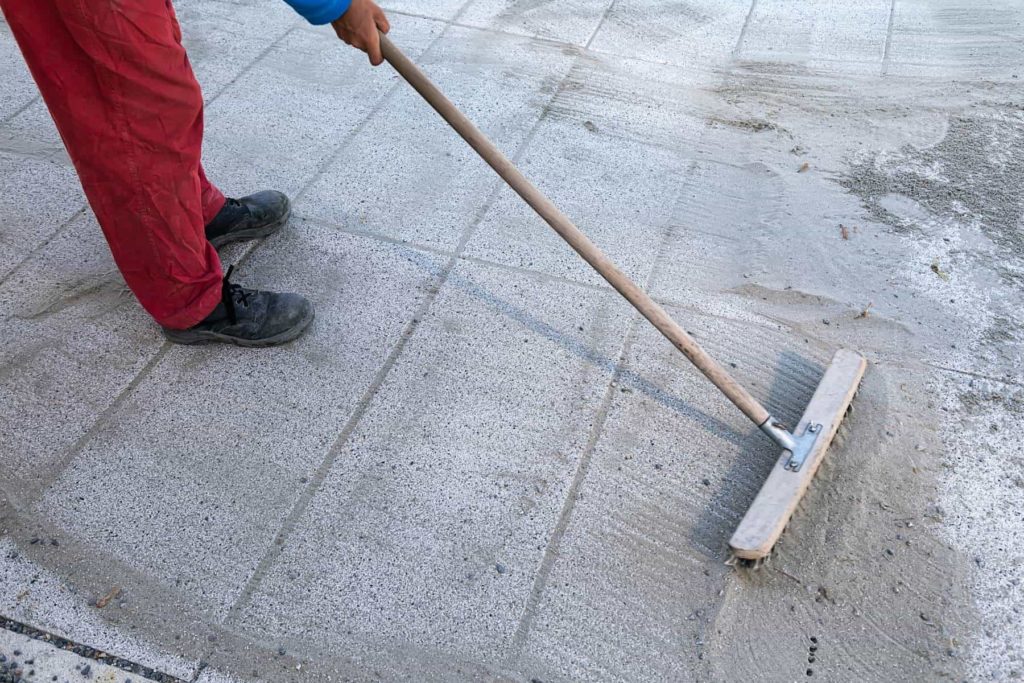
5 – Sweep Everything Off
Now that all the grout lines are filled with sand, is time to sweep all that sand. Sweep it carefully, directing the sand to the grout line and, again, moving the pavers just enough to compact the sand between them. Go back to step 4 and repeat the process until you’re satisfied with the result.
Frequency of Replacing Sand
The frequency of replacing sand in a paver installation can be hard to talk about.
Usually, you have to replace the sand once every two years, but that can wildly change depending on the weather conditions. A harsher environment will call for replacing sand more often.
It might be tricky to tell when is the right time to replace the sand in your pavers. You’ll have to eyeball it examining the pavers or asking for a professional opinion.
If you’re around the Sarasota and Manatee Counties, in FL, we here at S&S Pavers can help you replace the sand in your paver installation. We have been providing the best services in the installation and maintenance of pavers for 10+ years for a satisfied customer base.
You can call us anytime at 941-773-3098 for a free estimate or reach us through our email at sales@sspavers.com. We’ll be happy to hear from you and help you with every paver need you might have.