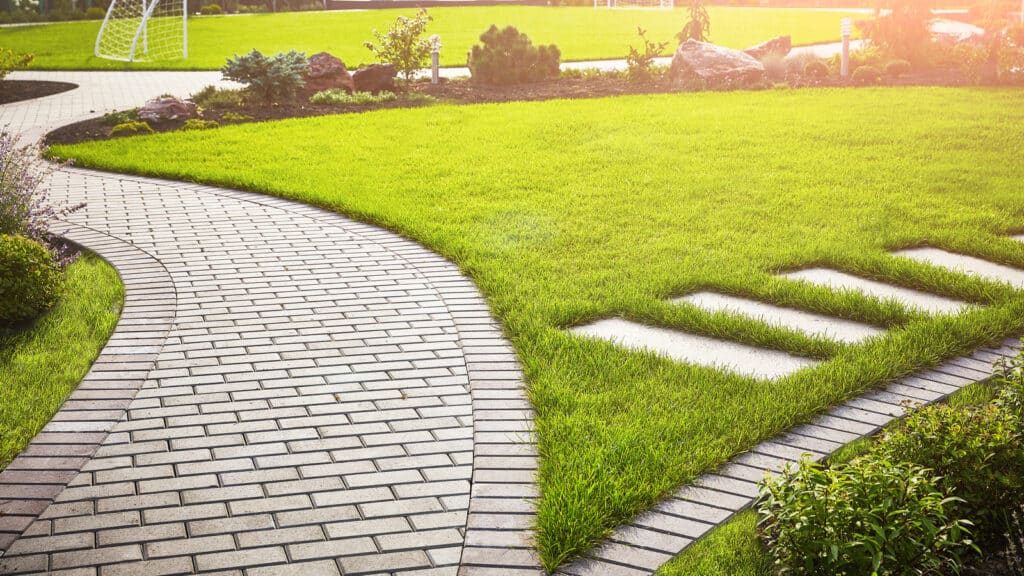
Oftentimes, planning a curved paver walkway involves cutting pavers to fit specific spaces or shapes, which can be a laborious, costly, and dangerous process, especially from a DIY perspective. For that reason, the goal of this article is to teach you how to plan a curved paver walkway without cutting any pavers.
With the right approach and creative planning, it is possible to create a paver walkway without the need for cutting any pavers. We will explore effective techniques to plan a seamless paver walkway that eliminates the hassle of cutting, ensuring a smooth and aesthetically pleasing outcome.
Curved paver walkway without cutting pavers: planning is everything
The secret to avoiding any cutting during a curved paver walkway installation lies in the planning stage. If you plan accordingly, your installation will be a cakewalk, and you won’t need to cut any pavers.
Accurate measurements are crucial when planning a paver installation without cutting, so that’s where you should start.
Begin by measuring the area where the pavers will be laid, accounting for any existing structures, obstructions, or irregularities. Utilize a measuring tape, straightedge, or laser level to ensure precise measurements, and record them carefully.
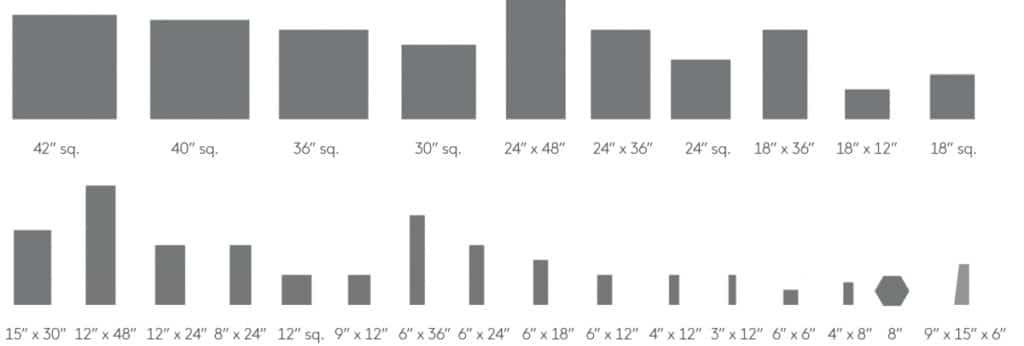
Selecting paver sizes that align with the dimensions of your project area can significantly simplify the installation process.
Consider pavers that are available in sizes that complement your measurements, allowing for minimal adjustments or cutting. By choosing compatible paver sizes, you can ensure a seamless installation and reduce the need for modifications.
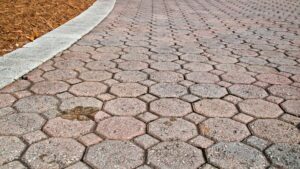
Modular paver patterns are an excellent choice when aiming to avoid cutting pavers. These patterns utilize specific combinations of paver sizes to create repetitive, interlocking designs.
Examples include running bond, herringbone, or basket weave patterns. By selecting a modular pattern, you can easily work with whole pavers, eliminating the need for cuts and maintaining a uniform appearance throughout the installation.
Before beginning the installation, use your chosen paver sizes and modular pattern to create a test layout.
This will allow you to visualize the final design and ensure that the pavers fit seamlessly within the given space. Lay the pavers without any adhesive or permanent fixing, paying attention to the spacing and alignment. Adjust the layout as needed until you are satisfied with the overall pattern and fit.
One of the biggest secrets of how to create a seamless curved paver walkway is to use flexible edging material, such as plastic or rubber, which can bend smoothly without breaking. This will act as a border and guide for the pavers.
If you plan your installation following these steps, the installation will be smooth, and you will be free of the hassle of having to cut pavers.
And speaking of the installation, let’s talk about it next.
Installation process
In case you didn’t know, a paver installation requires a fair bit of digging, careful planning, and precise execution, so let’s give you a comprehensive guide on how to perform one.
Preparing the base
Begin by excavating the marked path for your walkway to a suitable depth, usually around 4 to 6 inches. Use a shovel or an excavator to remove the soil, ensuring that the pathway is uniform in width and depth.
Once the excavation is complete, use a rake or a shovel to level the area. Remove any rocks, roots, or debris that may hinder the installation process. Ensure that the ground is even and smooth to provide a stable foundation for the walkway.
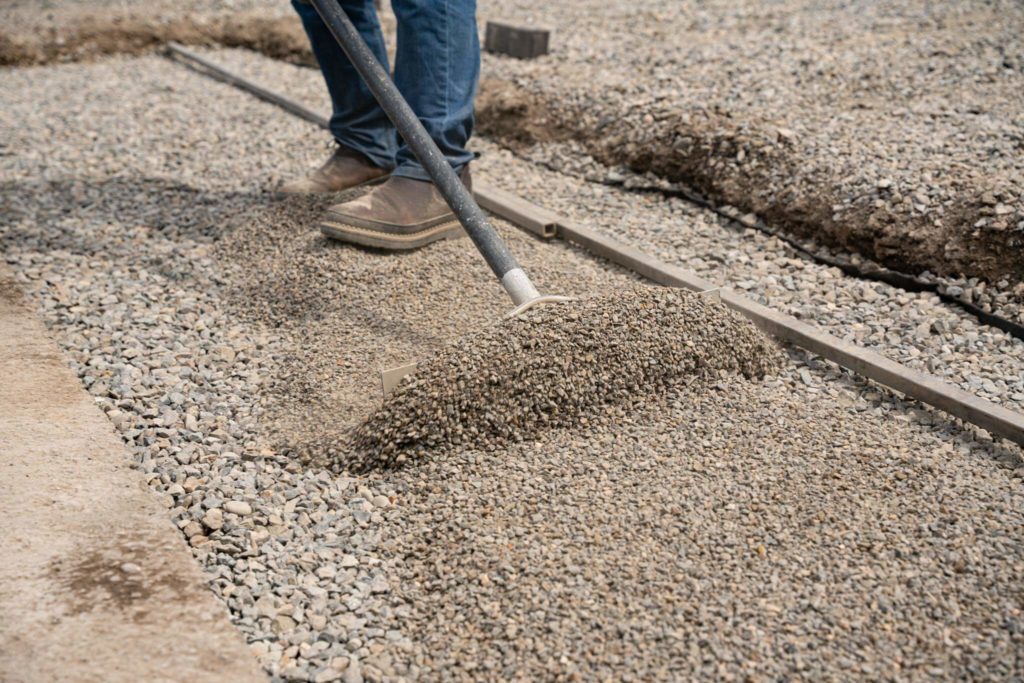
After leveling the area, it’s important to add a layer of compacted gravel. This layer serves as a stable base that helps with drainage and prevents the pavers from shifting over time.
Spread the gravel evenly over the excavated area and use a plate compactor or a hand tamper to compact it thoroughly. This process ensures that the gravel is tightly packed, providing a solid foundation for the sand layer.
Sand layer
Once the gravel base is compacted, it’s time to spread a thin layer of sand over the top. This layer of sand serves multiple purposes.
First, it allows for minor adjustments during the installation process, ensuring that the pavers can be positioned accurately. Second, the sand layer helps to create a level surface for the pavers, promoting stability and reducing the risk of tripping hazards.
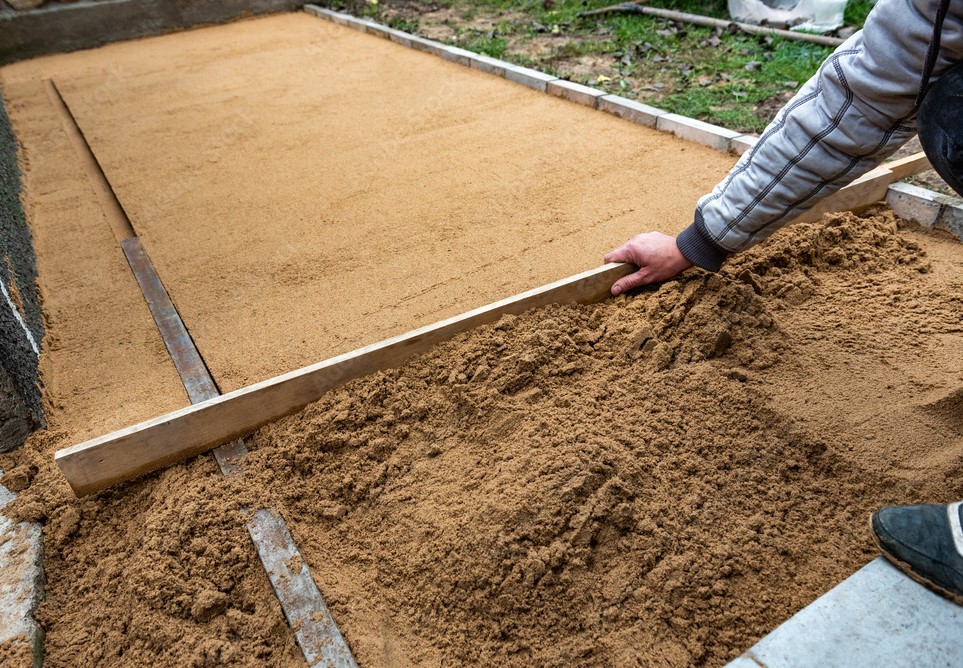
To spread the sand, use a shovel or a rake to evenly distribute it over the compacted gravel base. Aim for a layer of sand that is about 1 inch thick.
To achieve a consistent thickness, consider using two parallel pipes or rails set at the desired height as a guide. Drag a board or a screed over the pipes to level the sand, removing any excess material and creating a smooth, even surface.
After spreading the sand, use a screed board (a straight board or a long piece of lumber) to level the sand layer. Start at one end of the walkway and drag the screed board across the sand, moving it back and forth in a sawing motion.
During the screeding process, periodically check the level of the sand using a long level or a string line. Make any necessary adjustments by adding or removing sand underneath the screed board to achieve a uniformly level surface.
Laying the pavers
Before laying the pavers, install the edging along the marked path, securing it firmly into the ground with stakes. Make sure the edging is properly positioned to match the desired curve of your walkway.
Begin by identifying the center point of the walkway curve. This is crucial for achieving a symmetrical layout. Measure and mark the center point along the flexible edging.
Place the first paver at the center point, aligning it with the marked spot. Gently lower the paver onto the sand bed, ensuring it sits firmly and evenly.
From the center paver, continue laying the pavers outward along the curve of the walkway. Position each subsequent paver snugly against the previous one, maintaining consistent spacing and alignment.
As you lay each paver, use a rubber mallet or a wooden block to tap it gently into place. This helps to ensure that the paver is level with its neighboring pavers and properly seated in the sand bed. Check the level periodically using a straightedge or a level to maintain a uniform surface.
Pay attention to the overall symmetry and pattern as you work outward from the center. Keep an eye on both sides of the walkway to ensure that the pavers are evenly distributed and maintain a pleasing aesthetic. Adjust the spacing as needed to maintain the desired pattern.
Once all the pavers are laid, take a step back and inspect the entire walkway. Ensure that the pavers are level, evenly spaced, and aligned properly.
Sanding the installation
As the final step of the installation, you will need to fill the gaps between the pavers with polymeric sand.
Polymeric sand is a special type of sand that turns into a bonding agent when wet. By using it, you prevent the shifting of the pavers over time and the formation of weeds between the pavers.
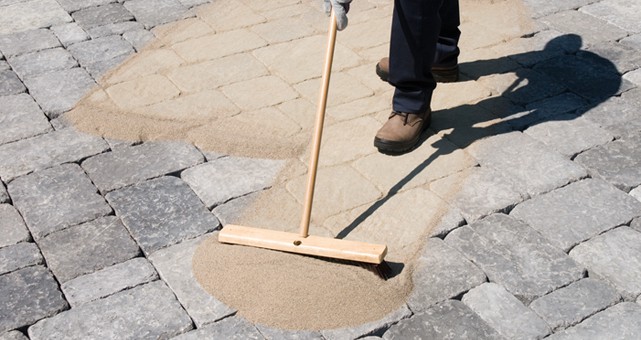
Start by spreading a layer of polymeric sand evenly over the surface of the paver walkway. Use a shovel or a scoop to distribute the sand across the entire area.
Using a broom with stiff bristles, sweep the sand back and forth, directing it into the gaps between the pavers. Make sure to push the sand into all the joints, filling them completely.
To further secure the pavers and create a stable surface, use a compactor or a tamper to gently compact the entire walkway.
Start from one end and work your way across the entire surface, applying light pressure to avoid damaging the pavers. This compaction process helps to lock the pavers in place, minimizes any remaining gaps, and improves the overall stability of the walkway.
After compacting the surface, use a broom to sweep away any excess sand from the paver surfaces and slightly mist the installation with the help of a garden hose.
Rinse the walkway with a gentle spray of water to help the sand settle fully. If desired, consider adding a sealant to enhance the pavers’ color and protect them from stains or weathering.
Professional installation
As you could see, paver installations require a lot of preparation and careful planning, especially if you want to make a curved paver walkway without cutting any pavers.
As fun as a DIY project can be, if you’re not sure that you can handle one, your best course of action is to hire a professional hardscape contractor to help you.
So look for a professional around your area you can trust to start your curved paver walkway today.
And if you happen to be around the Sarasota and Manatee counties, in FL, we here at S&S Pavers can gladly provide that help for you. We have 13+ years of experience in the hardscape business, with an expert team ready to tackle any situation.
Contact us anytime for a free estimate of our services.