Pavers are well known for being very durable, especially in high-traffic areas, like driveways. But do you know how to lay pavers for a driveway? Is it any different from laying pavers for a patio?
Pavers can be the best material for a driveway, but they need to be installed correctly and follow precise practices and guidelines so you get the most out of them for the longest time possible.
The installation process is very similar to a standard paver installation, except for some details we will discuss. So if you are wondering how to lay pavers for a driveway, this is the article you have been looking for.
So let’s get right to it!
Read also: How Wide Should A Driveway Be? All About Driveway Width
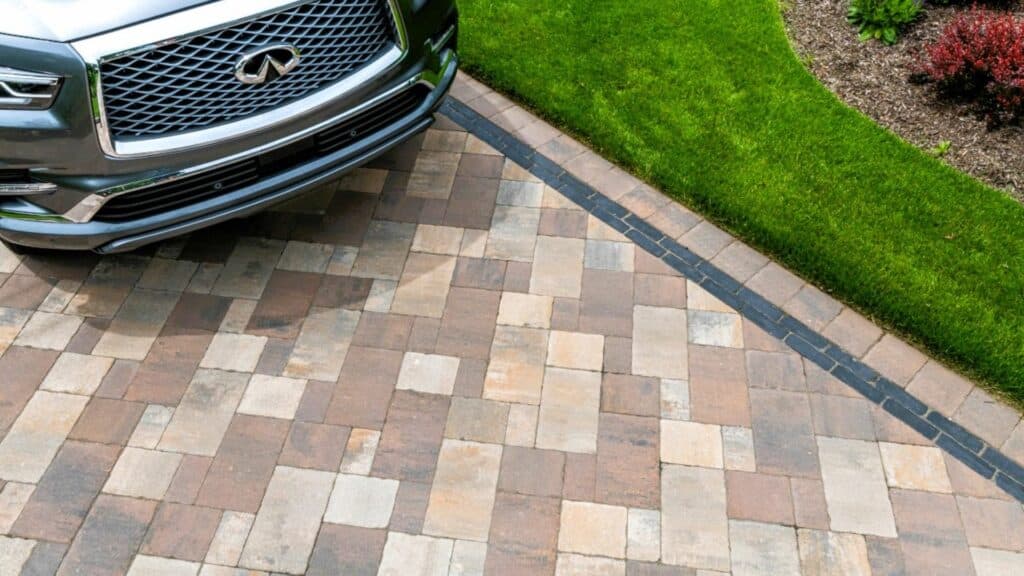
How to lay pavers for a driveway: step-by-step
The first thing about how to lay pavers for a driveway is to plan its size. A driveway, of course, must be large enough to easily park your cars.
Generally, the one-way driveway width is enough for those who own only average-size cars. A two-way driveway width installation is required for those who own larger vehicles.
Single-car driveways can measure anything between 10 and 12 feet, while double-car driveways need to measure between 20 and 24 feet.
And when it comes to a driveway length, the measure is based on your property’s needs.
Most people plan driveways using 18 to 20 feet of length for each car, or 22 to 24 feet for big vehicles.
After you determine the width and the length of your driveway, now you’re going to need some materials so you can start laying pavers for a driveway. For the installation, you’re gonna need:
- Pavers
- Paver restraints
- Rope
- Strings
- Wooden stakes (to pound on the floor)
- 12″ steel spikes
- Gravel
- Sand
- Geotextile fabric
- A carpenter level
- A rubber mallet
- A nice straight lumber
- A straight edge
- A measuring tape
- A plate compactor
- A masonry saw
- Safety equipment
All set with the planning and the materials? Now is the time to lay the pavers.
Step 01
Start by preparing the ground by excavating approximately 12 inches deep to accommodate the base materials and pavers. Ensure the excavation is slightly wider than the intended driveway width to allow for edge restraints if you’re using them.
Step 02
Next, lay geotextile fabric to allow the water to pass without disturbing the particles underneath. Geotextile fabric is very effective in heavy traffic areas and is highly recommended for preventing soil movement beneath the pavers’ surface and increasing the durability of the paver system.
Step 03
Fill the excavated area with a layer of gravel, around 4–6 inches deep. Compact the gravel with a tamper to create a stable base.
Step 04
Install the edge restraints by placing them around the perimeter of the project and securing them into the ground with 12″ spikes. If your driveway design is irregularly shaped, you can cut the restraints to follow the edges of your design.
Step 05
On the top of the gravel base, spread a 1-inch layer of sand. The sand is the material that holds your pavers in place. Use a rake to spread the sand evenly and a straight board to level it.
Step 06
Begin laying the pavers at one corner of the driveway area. Lay them straight down in the sand by sliding each paver straight down the edge of the adjacent paver according to the design pattern of choice. Use a rubber mallet to tap them gently into place, ensuring they sit evenly and snugly against one another.
Step 07
Once all the pavers are set, spread polymeric sand all over the installation. The polymeric sand is what helps to lock the pavers in place and prevent them from shifting. Use a broom to sweep the sand in different directions. Your goal is to fill every joint and remove the excess sand afterward.
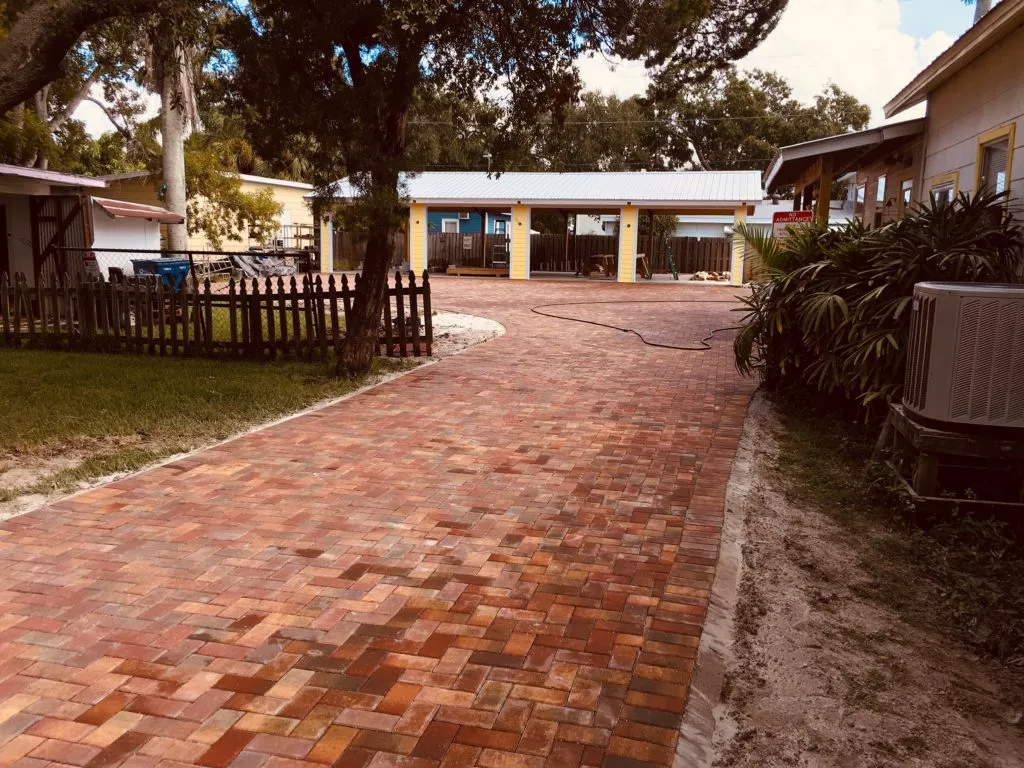
DIY vs. professional installation
As you can see, the process of learning how to lay pavers for a driveway can be complex, especially for those without hardscape experience. If that’s your case, maybe hiring professionals would be the best course of action for you.
Generally, DIY projects can be more cost-effective as you save on labor costs. However, keep in mind that mistakes can be costly, especially if you have to redo portions of the driveway.
Professionals have experience and expertise, which can result in a more durable and aesthetically pleasing driveway. They also have access to professional-grade equipment, materials, and techniques.
This can be more expensive upfront, but it often ensures a higher quality result and ends up paying for itself in the long run.
Also, you’ll need specific tools for excavation, leveling, and cutting pavers. Renting or purchasing these tools can add to the overall cost and, in the end, it might actually be cheaper to hire professionals.
So assess your skills honestly. Paver installation requires meticulous attention to detail and some physical labor.
If you have experience with similar projects and are comfortable with tasks like leveling, compacting, and cutting pavers, DIY might be feasible. Otherwise, is best to hire professionals to help you.
Read also: Cost Of Pavers Per Square Foot In 2024: A Complete Guide
Why choose pavers for a driveway?
As mentioned earlier, pavers are a great choice for driveways. They are well known for being durable, for their cost-benefit, and for requiring low maintenance. Pavers give your house an instant curb appeal boost and increase your home value right after being installed.
At first, a paver installation might seem expensive, but you will see that when compared with concrete and asphalt, they require much less repair and maintenance over time.
Read also: Interlocking Pavers: Everything You Need To Know
If you are worried about the cost of laying pavers for a driveway, how about a free estimate for your project? If you live in Florida, don’t hesitate to contact us!
You can have a professional contractor install driveway pavers in a couple of days, and S&S Pavers has over 10 years of experience doing that in the counties of Manatee and Sarasota. From the design of your project to its execution, we can handle everything.

