Stepping stones are a delightful addition to any garden or backyard, adding charm, functionality, and a personal touch to your outdoor space. While pre-made stepping stones are readily available in stores, designing and crafting your DIY stepping stones can be a rewarding and creative project, conveying exactly what you’ve envisioned.
In this comprehensive guide, we will explore everything you need to know about DIY stepping stones, from materials and tools to step-by-step instructions and design ideas. So, let’s embark on a journey of creativity and craftsmanship!
DIY Stepping Stones: Materials and Tools
The first order of business is to present you with a comprehensive list of all the materials and tools you’re going to need.
Materials
- Concrete mix or stepping stone mix
- Water
- Mold or form
- Release agent (cooking spray, petroleum jelly, or specialized products)
- Decorative elements (stones, glass pieces, seashells, marbles, tiles)
- Reinforcement (wire mesh or fiberglass mesh)
- Optional: pigments or concrete dyes for coloring
Tools
- Large mixing container or wheelbarrow
- Trowel or mixing paddle
- Water source
- Rubber gloves
- Dust mask
- Protective eyewear
- Level
- Hammer
- Wire cutters
- Sandpaper or sanding block
Preparation
Before deciding on the design and layout of your stepping stones, it’s helpful to gather inspiration. Look for ideas in gardening magazines, online platforms, or even by visiting local gardens and parks.
Consider the overall theme or style you want to achieve in your garden, such as modern, rustic, or whimsical. This research phase will give you a clearer vision of the type of stepping stones that will complement your outdoor space.
When deciding on the size and shape of your stepping stones, take into account both the practical and aesthetic aspects.
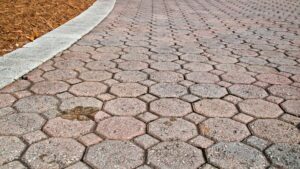
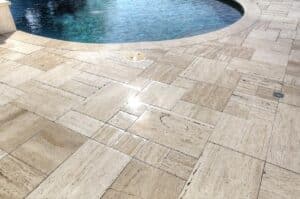
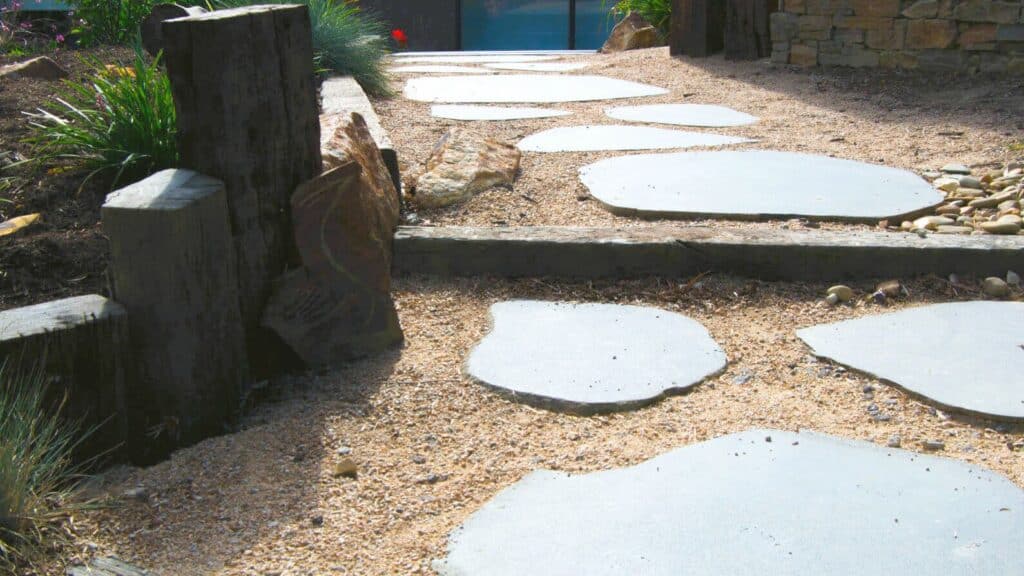
Consider the scale of your garden or pathway, ensuring the stepping stones are proportionate to the surrounding elements. For a meandering path, irregularly shaped stones can create a more natural and organic feel. Conversely, symmetrical shapes like squares or rectangles can provide a formal and structured look.
Before pouring the concrete or stepping stone mix, plan the layout of your stepping stones. Use string or stakes to mark the desired path, allowing you to visualize the placement and adjust it as needed.
Take into consideration factors like the flow of foot traffic, the location of existing plants or structures, and any focal points you want to highlight along the path.
The choice of mold will depend on the shape and size you want for your stepping stones. Plastic molds designed specifically for this purpose are readily available and come in various shapes and sizes, providing a convenient option.
However, if you’re looking for a more customized shape, you can use repurposed items like old containers or wooden frames. Just ensure that the mold is sturdy enough to hold the weight of the concrete and maintain the desired shape.
To prevent the concrete from sticking to the mold, proper preparation is essential. Before applying the release agent, clean the mold thoroughly to remove any dirt or debris. Ensure the mold is completely dry before proceeding to avoid any moisture interference with the concrete curing process.
Also, add a release agent between the mold and the concrete. This makes it easier to remove the stepping stones once they have been cured.
While cooking spray and petroleum jelly can be used as release agents, specialized mold-release products are also available and may provide better results. Apply a thin, even layer of the chosen release agent to all surfaces of the mold, including the corners and edges, ensuring complete coverage.
Mixing and Pouring
When choosing a concrete mix, consider the specific requirements of your project. Different mixes have varying strengths and aggregate sizes, so select one that suits your needs. Stepping stone mixes are often formulated to be more workable and easier to pour into molds, ensuring a smoother finish.
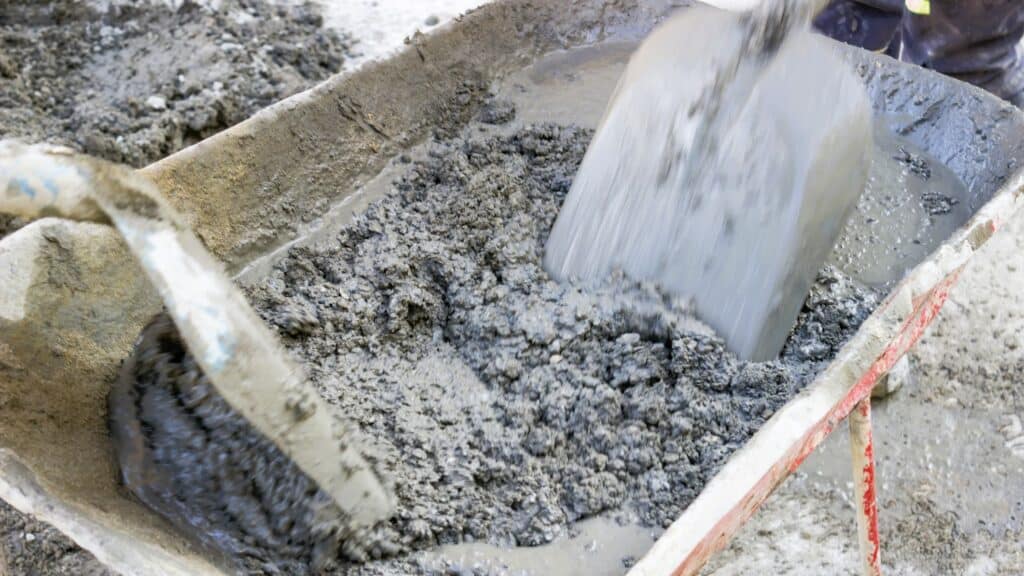
To avoid any mistakes, always follow the instructions provided on the concrete mix package to determine the appropriate water-to-mix ratio. Using a large mixing container or a wheelbarrow, pour the specified amount of mix and gradually add water.
It is important to add water slowly while stirring to achieve the correct consistency. Avoid adding too much water, as it can weaken the concrete.
The consistency of the concrete mix is crucial for achieving the desired results. Aim for a thick, pourable consistency that is not too runny or too dry. It should be able to hold its shape when scooped but still flow easily into the mold.
Test the consistency by lifting the mixing tool out of the mix and observing how it falls back into the container. Adjust the water or mix amount as necessary to achieve the desired consistency.
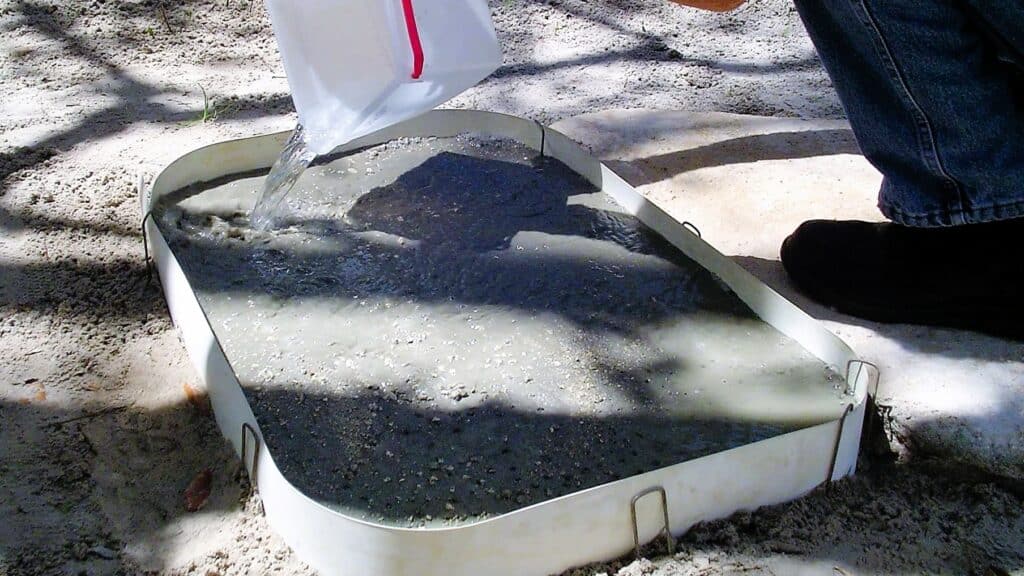
Carefully pour the concrete mixture into the prepared mold, ensuring that it fills the mold evenly. Avoid overfilling, as excess concrete may spill out or create uneven thickness in the stepping stones.
Use a trowel or a mixing paddle to distribute the mix and level the surface. Tap the sides of the mold gently to help settle the concrete and remove any trapped air bubbles.
To enhance the strength and durability of your stepping stones, you can incorporate reinforcement materials into the concrete.
Wire mesh or fiberglass mesh can be embedded into the concrete mix to provide added structural support. Place the reinforcement material in the mold before pouring the concrete, ensuring that it is evenly distributed and centered within the mold.
Decoration, Curing, and Demolding
Once the concrete is poured and leveled, you can add decorative elements or personal touches to customize your stepping stones.
When selecting decorative elements to embed in your stepping stones, consider both their aesthetic appeal and durability. Choose materials that can withstand outdoor conditions, such as natural stones, glass pieces, seashells, marbles, or ceramic tiles.
On top of that, ensure that their size and thickness are suitable for embedding in the concrete without compromising its structural integrity.
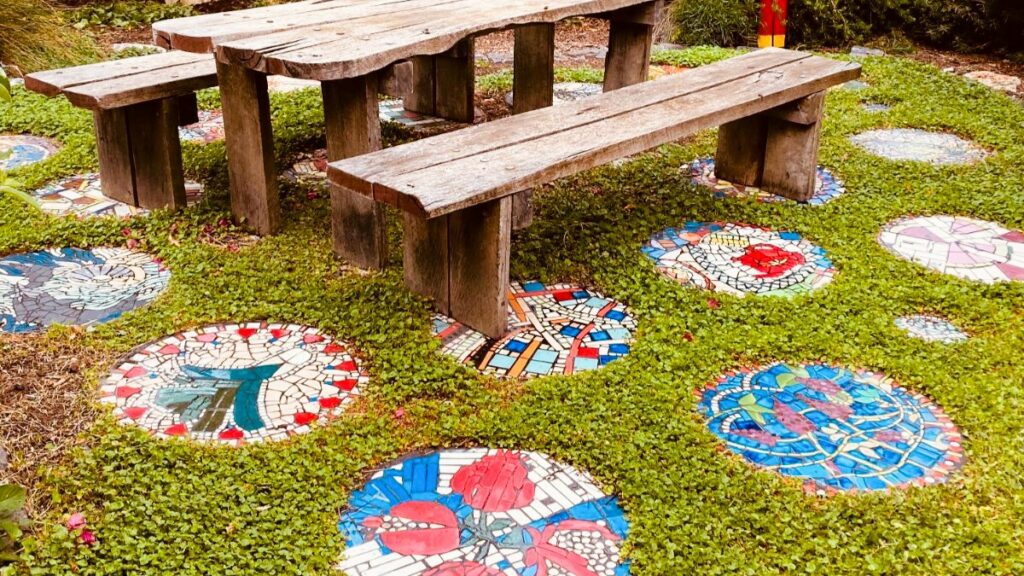
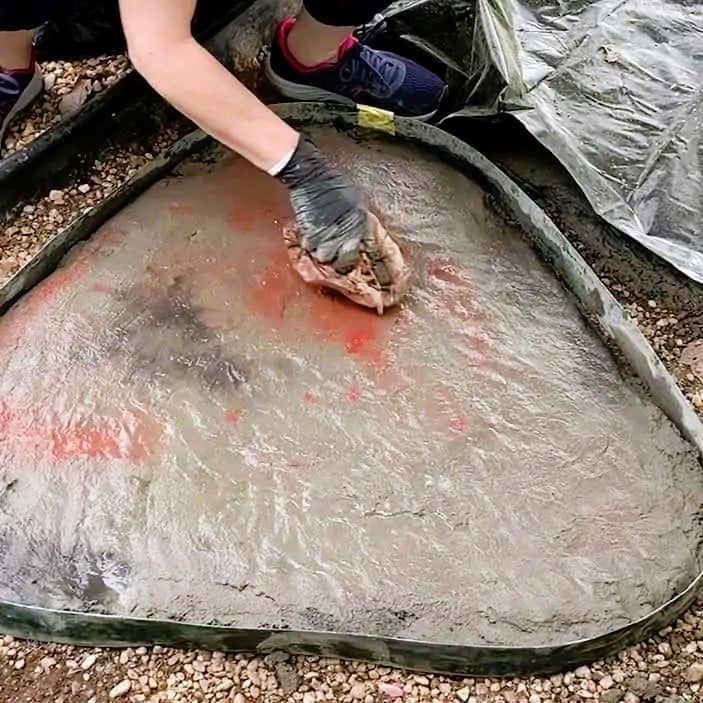
Press the decorative elements into the surface of the wet concrete to create patterns or designs. You can also write names, dates, or handprints using specialized concrete stamps or engraving tools.
After pouring and decorating the concrete, cover the mold with plastic or a sheet of plywood to retain moisture and promote proper curing. Follow the instructions on the concrete mix package regarding the recommended curing time.
Curing is a crucial step in the process of creating durable and long-lasting stepping stones. It allows the concrete to reach its maximum strength and durability.
Typically, it takes a few days for the concrete to set and cure properly. Avoid disturbing the mold or removing the stepping stone prematurely to ensure the concrete has fully hardened.
After the curing period is complete, carefully remove the covering from the mold. Gently tap or vibrate the sides of the mold to help loosen the stepping stone. Carefully lift the mold from the edges, avoiding any unnecessary force that may damage the concrete.
If the stepping stone is not easily released from the mold, you can try using a rubber mallet or gently flexing the mold to help loosen it.
Once the stepping stone is demolded, inspect it for any residual release agent or debris. Clean the surface using a brush or damp cloth to remove any unwanted particles.
You can also lightly sand the edges or surface if desired to achieve a smoother finish. Take the opportunity to add any final decorative touches, such as painting or staining the surface or applying additional decorative elements that were not embedded during the initial pouring.
Installation and Maintenance
Carefully choose the location for your stepping stones. Consider the desired pathway, the flow of foot traffic, and any focal points you want to highlight in your garden or outdoor space. Take into account the practicality of the placement, ensuring that the stepping stones create a convenient and logical pathway for walking.
Before installing the stepping stones, prepare the ground by ensuring it is level and free from debris. Remove any grass, weeds, or rocks from the area where the stepping stones will be placed. This will help create a stable and even surface for the stones.
To create a stable base for the stepping stones, add a layer of sand or gravel. This will help distribute the weight of the stones more evenly, prevent settling or shifting, and improve drainage. Level the sand or gravel layer by using a rake or a flat board, ensuring it is evenly spread across the area where the stepping stones will be placed.
Carefully place each stepping stone into the prepared hole or on top of the sand/gravel layer. Press it down gently to embed it into the base material. Use a level to ensure the stone is even and aligns with the adjacent stones. Adjust the position of the stone as needed until it is properly aligned and leveled.
After placing the stepping stone, fill any gaps around it with soil or additional sand. This will help stabilize the stone and prevent it from shifting or wobbling. Fill the gaps evenly, using a trowel or your hands to pack the soil or sand firmly. Take care not to overfill the gaps, as this may create an uneven surface.
Inspect the installed stepping stones and make any necessary adjustments to ensure they are all level and properly aligned.
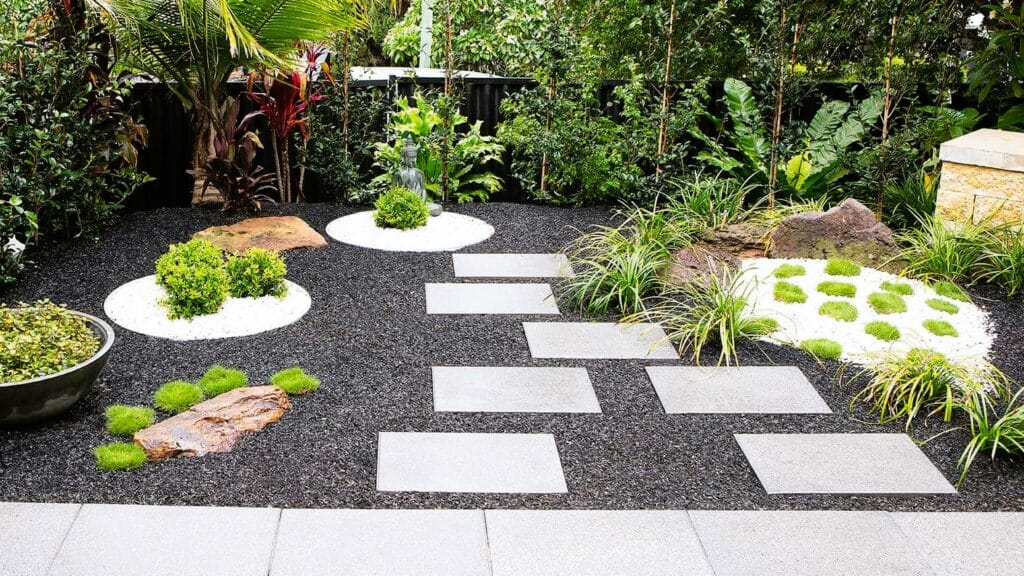
Once you are satisfied with their placement, take the opportunity to enhance the aesthetic appeal. Consider adding decorative pebbles, mulch, or ground cover plants around the stepping stones to create a finished and polished look.
Regular maintenance of your stepping stones will help preserve their appearance and functionality. Clear any debris, such as fallen leaves or dirt, from the surface of the stones regularly.
If weeds or grass start to grow between the stones, remove them to maintain a clean and well-maintained pathway. Additionally, periodically inspect the stones for any signs of damage or shifting, and make any necessary repairs or adjustments as soon as possible.
Begin Your Project Today!
As you could see, the process of DIY stepping stones can be a bit tricky, especially for people who don’t have a lot of experience working with hardscape materials. If that’s your case, you can always choose to go for regular stepping stones, which can be made of concrete or natural stone.
Either way, the best course of action is to get in contact with a professional hardscape contractor to know what’s best for your specific scenario.
Here at S&S Pavers, we have helped countless homeowners with their stepping-stone projects, giving them better options that would be a better fit at the time.
If you happen to be around our area of activity, Sarasota and Manatee counties, in FL, we can also provide that kind of help for you, so don’t hesitate to get in contact with us right now and start your project right away.