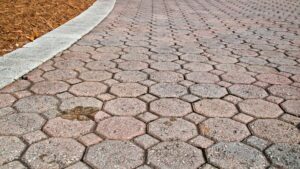
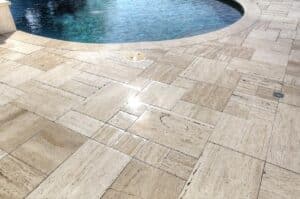
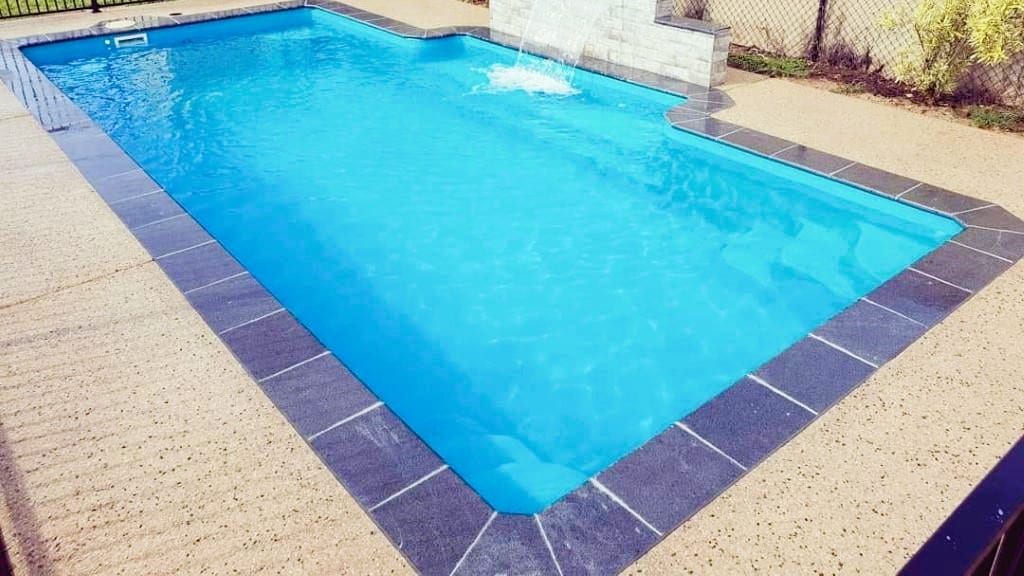
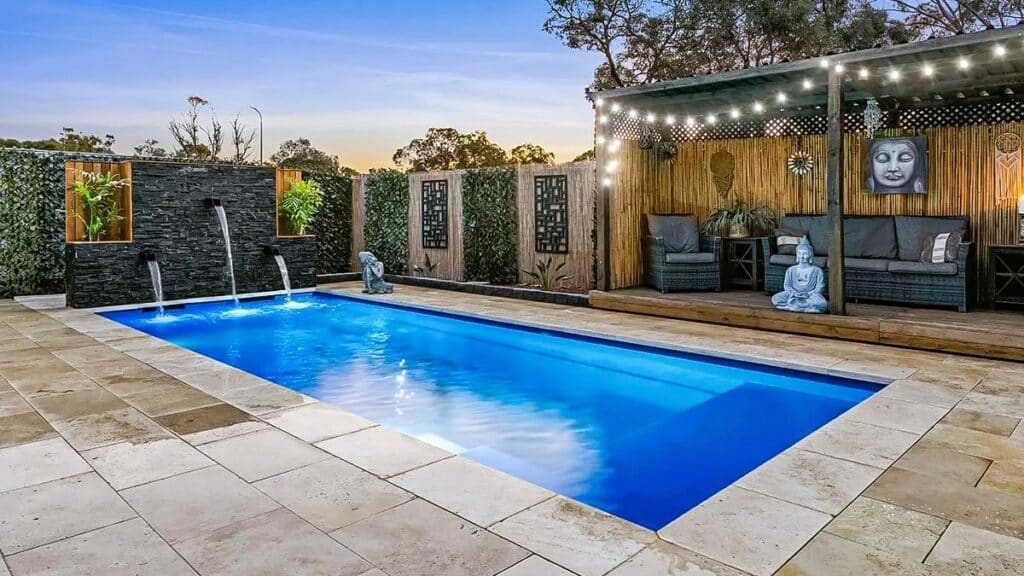
A fiberglass pool offers a sleek and durable addition to any backyard oasis. To enhance its visual appeal and functionality, installing coping pavers around the pool’s perimeter can provide a finished and polished look. So, in this article, we want to teach you how to lay coping pavers on a fiberglass pool.
Coping pavers not only serve as a decorative element but also serve the important purpose of protecting the pool’s edges. We will guide you through the step-by-step process of laying coping pavers on a fiberglass pool, ensuring a long-lasting result.
How to lay coping pavers on a fiberglass pool: materials
Before we dive into the installation process, here is a comprehensive list of materials that you’re going to need:
- Coping pavers;
Of course, this is the first and most important step. Choose coping pavers specifically designed for pool coping, ensuring they are suitable for outdoor use and can withstand water exposure.
Also, the coping pavers should match your aesthetic preference as well as the functionality you require. The choice of material is extremely important, so make sure to ask for professional help on that subject. - Paver base material;
This can be a compactible aggregate such as crushed stone or gravel. - Paver sand and polymeric sand;
Use coarse, angular sand as a base. That will provide stability and prevent shifting. As for the sanding after the installation, polymeric sand is the recommended choice. - Edge restraints;
These can be made of plastic, aluminum, or concrete, and are used to hold the coping pavers in place. - Landscape adhesive;
since we’re talking about a pool setting, opt for a waterproof adhesive to secure the coping pavers together. - Rubber mallet;
This will help in adjusting and tapping the coping pavers into place. - Shovel, 2×4, and hand tamper;
Essential tools for preparing the ground and ensuring a sturdy base. - Level and string lines;
Used to maintain accurate alignment during installation. - Safety equipment;
Gloves, safety glasses, and knee pads are always a good idea. Don’t risk doing any work without them.
Step 01: planning and preparation
Before doing anything, prioritize your safety by putting on the appropriate safety equipment we just mentioned. They are crucial to prevent accidents or injuries during the installation process.
Start by carefully measuring the perimeter of your fiberglass pool using a measuring tape. Take accurate measurements of each side, including any curves or irregular shapes. Once you have determined the exact dimensions, mark the desired layout for the coping pavers.
Consider a suitable width for the coping area, typically between 8 and 12 inches. Use a chalk line or spray paint to create clear and visible markings along the pool perimeter.
Prepare the designated coping area by removing any debris, plants, or existing materials that may obstruct the installation. Clear away fallen leaves, branches, rocks, or any other objects that could interfere with the proper placement of the coping pavers.
If there are plants or shrubs within the designated area, consider temporarily relocating them to ensure a clear workspace. Additionally, remove any existing materials such as old coping stones or pavers, ensuring a clean and level surface for the new installation.
Step 02: excavation and base preparation
Using the shovel, carefully dig out the marked area to a depth that accommodates the thickness of the coping pavers, plus 6 inches for the base material, and allows for a slight slope away from the pool.
The recommended slope is typically around 1/8 inch per foot. This slope helps to facilitate proper water drainage and prevent any pooling near the pool’s edge.
Once the excavation is complete, it’s time to prepare a solid base for the coping pavers. Start by spreading and compacting a 1-inch layer of paver base material evenly across the excavated area.
Then add and compact yet another 1-inch layer. Repeat the process until you have a 5-inch pave base.

Step 03: install edge restraints
Carefully place the edge restraints along the outer edges of the coping area, ensuring they are positioned flush with the pool’s edge. Align the restraints accurately with the marked layout to maintain a consistent and visually pleasing appearance.
Once the edge restraints are in position, secure them firmly to the ground. Drive stakes through the pre-drilled holes in the restraints, ensuring they penetrate the soil beneath. Use a rubber mallet or hammer to drive the stakes down until they are firmly anchored.
Space the stakes approximately 12 to 18 inches apart along the length of each restraint. This spacing may vary depending on the manufacturer’s recommendations, so make sure to always follows their instructions.
After securing the edge restraints, it is essential to verify that they are level and properly aligned. Use a spirit level to check the horizontal alignment of the restraints. Place the level across the top surface of the restraints, adjusting them as needed to achieve a consistent level throughout the perimeter.
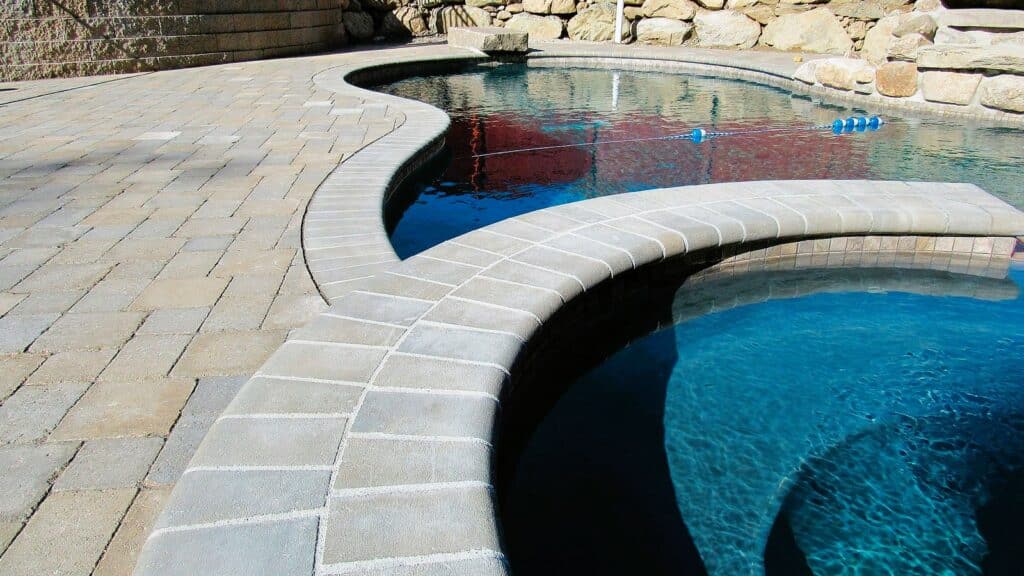
Step 04: lay the coping pavers
Once the edge restraints are in place, spread a layer of coarse, angular sand over the compacted base material.
Use the 2×4 to screed and distribute the sand evenly, aiming for a depth of 1 inch. The paver sand acts as a leveling and bedding material, allowing for easier installation and proper alignment of the coping pavers.
Start at one end of the pool and lay the coping pavers along the edge restraints. Carefully position each paver, ensuring they are flush with the restraints and the pool’s edge.
Use a rubber mallet to tap each paver gently into place, securing them to the sand bedding. Check that each paver is level and aligned with the adjacent ones to maintain a consistent appearance.
If you want, you can place plastic spacers between the coping pavers to maintain uniform spacing. These spacers help create even joints between the pavers, allowing for proper water drainage and reducing the risk of shifting over time.
Step 05: sanding the pavers
Before sanding, ensure that the pavers are clean and free of debris. Sweep the surface thoroughly to remove any loose dirt, leaves, or other materials.
Select a suitable type of sand for filling the joints between the pavers. Polymeric sand is commonly used, as it hardens when exposed to moisture, providing stability and preventing weed growth.
Begin by pouring the sand onto the surface of the pavers. Use a shovel or a broom to distribute the sand evenly across the entire area. Ensure that the sand fills the joints between the pavers.
Use a broom to sweep the sand into the joints between the pavers. Make sure to apply pressure while sweeping to ensure that the sand settles into the gaps and creates a compact and stable surface. Continue sweeping until the joints are filled uniformly.
Once the joints are filled, use a leaf blower or a broom to remove any excess sand from the surface of the pavers. This step helps create a clean and polished.
To activate the polymeric sand, lightly mist the entire paved area with water. This activates the polymers in the sand, causing it to harden and create a strong bond between the pavers. Follow the manufacturer’s instructions regarding the amount of water needed and the drying time required.
Step 06: sealing the coping pavers
Before sealing the coping pavers, you must wait a few days for them to be completely dry.
Begin by thoroughly cleaning the coping pavers to ensure a clean surface. Use a broom to sweep off any loose debris, such as leaves, dirt, or grass. Pay special attention to the joints between the pavers, removing any trapped debris.
Before applying the sealant, carefully read and follow the manufacturer’s instructions regarding application techniques, drying times, and any other specific recommendations. Some sealants require the pavers to be completely dry, while others may require a specific temperature range for the application.
Apply the sealant evenly using a roller or sprayer, working in small sections at a time. Allow the sealant to dry completely according to the manufacturer’s instructions before proceeding to the sanding step.
If desired, consider applying a suitable paver sealant to enhance the appearance and protect the coping pavers. A sealant can add a glossy or matte finish while providing a protective layer against stains and weathering.

Start your coping paver installation today!
By following this step-by-step guide, you can successfully install coping pavers around your fiberglass pool, adding both beauty and functionality to your outdoor space. Remember to prioritize safety throughout the installation process and pay attention.
However, if you’re not 100% sure you can tackle this project from a DIY perspective, your best course of action is to hire professional hardscape contractors to help you.
We here at S&S Pavers have been working in the hardscape industry for the past 13 years, so we know the importance of careful preparation and precise execution when it comes to working with coping pavers.
So if you’re around the Sarasota and Manatee counties, in FL, get in contact anytime for a free estimate on our services so we can start helping you today!