There is a reason why pavers have been used for centuries across many cultures around the globe: cost-beneficial versatility. The reliability and durability of the interlocking paver system are unmatched, even in modern days. But what makes interlocking pavers so good?
In this article, we plan to give you an in-depth guide on the different types of paver materials, how they work together to form the famous interlocking system, and how to perform an interlocking paver installation yourself. So let’s go right to it!
You may also like: Cost of pavers per square foot in 2024 – a complete guide
Interlocking pavers: what are they made of?
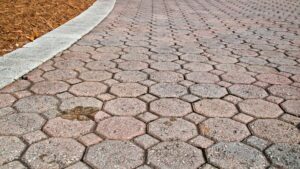
Pavers can be made of a lot of different materials – options are not a problem on the market. They can be mainly divided into three categories: brick pavers, natural stone pavers, and concrete pavers, with concrete being the most famous of the kind.
Each material has its specific set of characteristics and is appropriate for the right setting.
Brick is what the first pavers were made of. They are cooked in extremely high temperatures, granting them high resistance. They can even be recycled since they are made completely out of natural materials. They might chip away easier and not last as long as the most durable paver options, like concrete or porcelain, but they still can last decades and can be easily replaced when damaged.
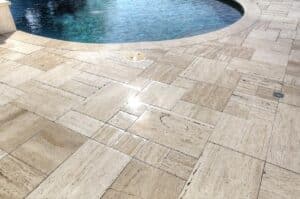
Natural stone is the broader category. These are usually made out of quarried stones cut to form pavers. Each natural stone has its specific strengths and weaknesses when used as pavers. The most common types of natural stone used as pavers are travertine, marble, flagstone, and cobblestone. But any stone can be cut to become a paver, albeit not all of them would be extremely efficient.
And then we have concrete pavers, which justify their popularity by being the best cost-benefit option available. They are extremely durable and are very cheap, at least when compared to most natural stones. Tons of options of designs and colors are available - some even made to look like the most refined natural stone out there, costing a fraction of their price.
In the end, the best thing you can do is to find qualified hardscape professionals to help you make the appropriate decision according to your project and budget.
What is the interlocking method?
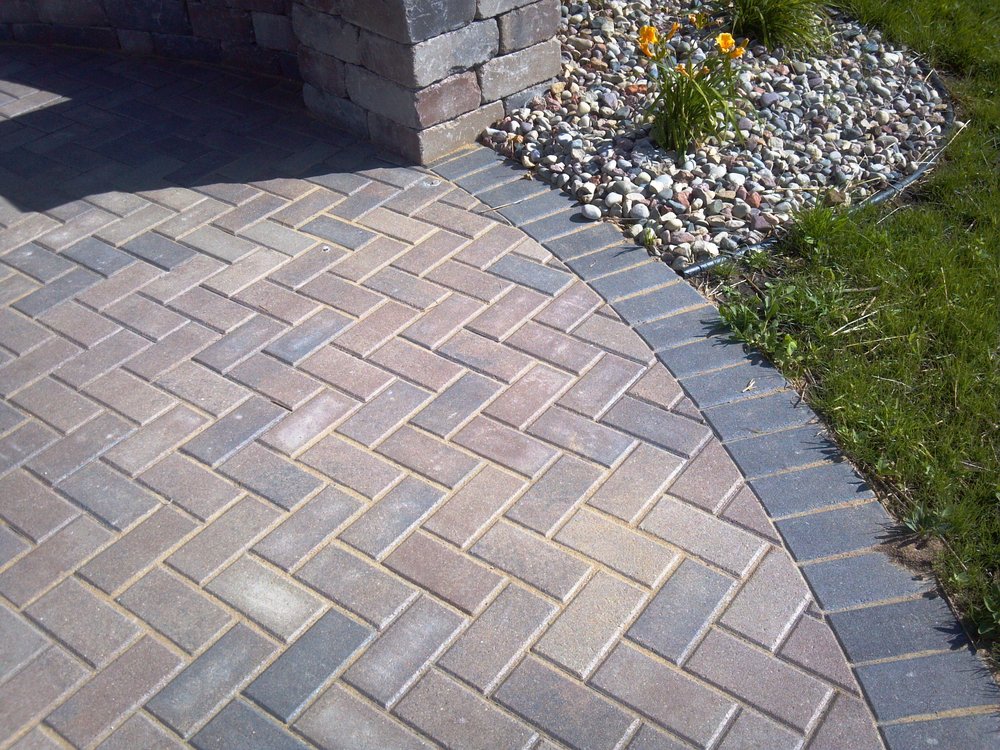
Very simply put, the interlocking method consists of a combination of pavers and sand, nothing else. When placed using sand as joint material, pavers form a structure that can evenly distribute the heaviest weights without putting any excessive pressure on the pavers individually.
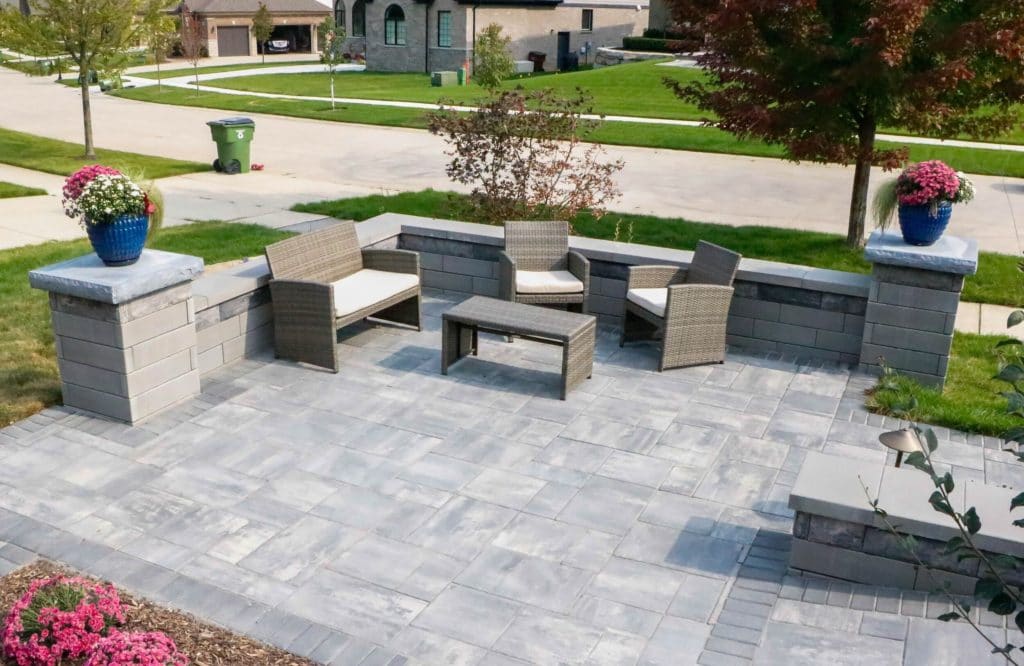
That’s where the “interlock” term comes from – they become locked and work together to create a single extremely sturdy surface. In its essence, this method brings durability to the groundwork and can make your project last up to 40+ years. With proper maintenance and timely repairs, pavers can keep looking great for years to come.
And here is the good news: an interlocking installation is the easiest one available for pavers. It is one that when small enough, you can perfectly tackle in a DIY project. And we’re going to teach you how.
Read as well: How long will a paver patio last?
How to install interlocking pavers
First, let’s talk about the materials you’re going to need:
- Spay Paint Can
- Wood Spikes
- Hammer
- Construction Line
- Level Line
- Sharpie Pen
- Shovel
- 3/4″ Crushed Stone
- Plate Compactor or Hand Tamper
- 2 1-inch Steel Conduits
- 2×4 Screeding Board
- Sand
- Pavers
- Rubber Mallet
- Polymeric Sand
- Broom
With all those materials in hand, let’s undergo the necessary steps to perform the installation.
Step 1 – Preparation
In paver installation, preparation is the key. The more you spend on this stage, the fewer problems you will encounter in the future.
First, you know you’ll have to do some digging – so get in contact with the proper authorities in your region to know you’re digging in a safe area, free of utility cables underneath it.
Once you get the ok on that, time to measure the area where you want to install your pavers. Again, for DIY projects, we recommend you work on a small area.
And since you’re working DIY, let’s make things simple and try not to cut pavers, unless it’s unavoidable. To avoid shortcomings, we recommend you choose what pavers you want beforehand by consulting a supplier of trust.
Now, take the individual measurement of each paver, and calculate the area of a single paver. Then, divide the area of your installation by the area of a single paver and you will know how many pavers you’re going to need to do the installation.
If is not a whole number, that means you’re going to have to cut some pavers, so make the proper adjustments on your area.
Step 2 – Excavation
With your area decided, outline it with the spray paint on the ground, so you’ll know exactly where to dig. And now it’s time to go to work.
First, hammer a wood spike into the “higher” point of your installation. This point is the one closer to your house. Then hammer another wood spike to the “lower” point of your installation, the one further away from the house.
Now, tie the construction line to the first metal stake, at the height you want your pavers to be. Tie the other end of the line to the second stake, again at the height you want them to be. Use a level line during this part to make sure everything is leveled.
Now you’ll have to account for the slope. For every 8 feet, you’ll want your area to go down 1 inch. So make those calculations and, in the end, mark the slope at the second stake, starting from the mark you previously put, and slide the line to this second mark.
The depth of your excavation must account for the road base (4 inches), the sand base (1 inch) plus the height of your pavers of choice. So that amount should be the depth of your excavation, counting down from the line.
Step 3 – Base
The excavation is the hardest part. From now on things get easier.
To form the base of your installation, you’ll simply start by filling your hole with the 3/4″ crushed stone. This layer must be 4 inches in height. It is recommended that you go through with the plate compactor twice while working on it.
With the base set and leveled, time to place the 1-inch steel conduits. Set them on the base about 6 feet apart from each other and make sure they are parallel.
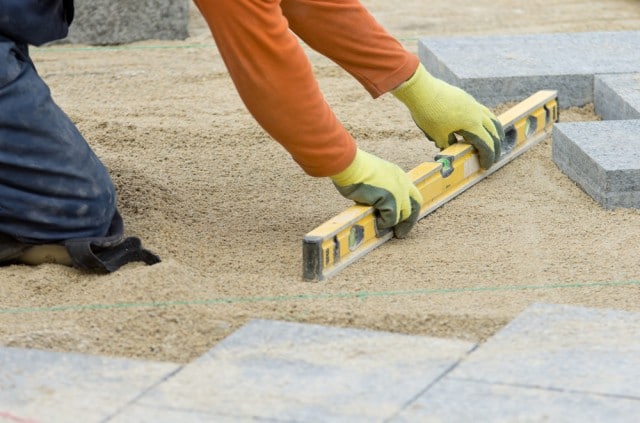
Pour the sand on top and around the conduits and screed them using the 2×4 board. You’re going to be left with a perfectly leveled 1-inch layer of sand base, and know all you have to do is lay your pavers on top of it.
Step 4 – Laying the Pavers
Laying the pavers is easy, but it requires patience and precision.
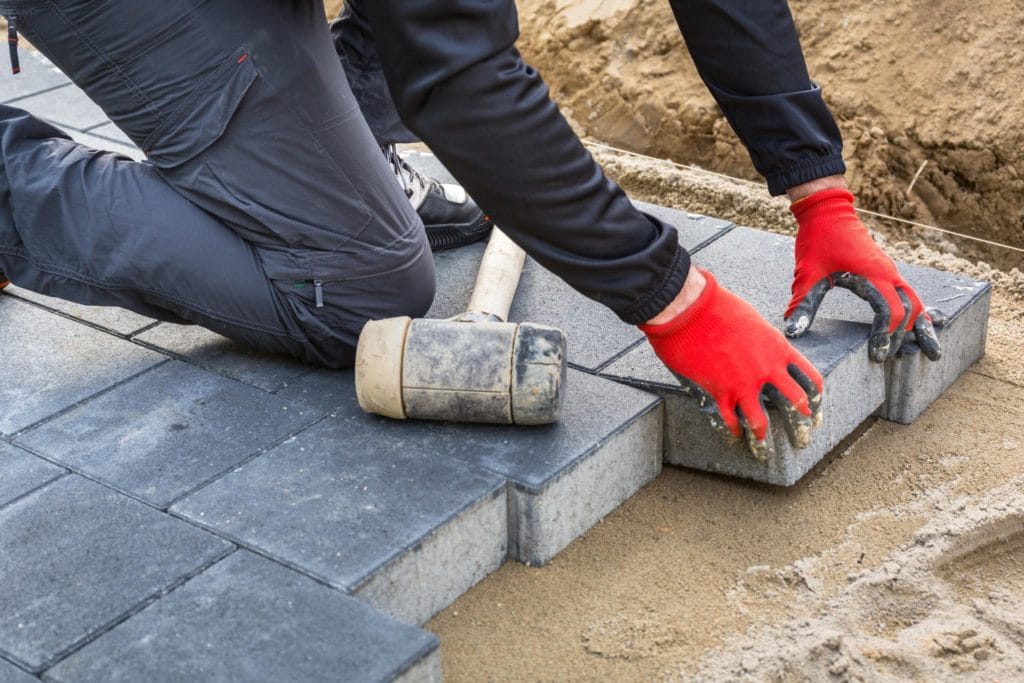
Never shift pavers in place once they are set. Always use the “click and drop” method, where you gently set the paver in place once it touches the previous one.
Start from the lowest point and slowly work your way up until all the pavers are in place, gently tapping them with the rubber mallet as you go, so they set better.
Step 5 – Interlocking Your Installation
Now for the finishing touch, and that creates the interlocking paver system.
Spread polymeric sand all over your installation, filling up the grout lines as you go. Sweep the sand to the grout lines using the broom. Do that until the grout lines are completely filled, and sweep the excess sand away at the end.
Don’t forget that you have to always seal your pavers – as long as they are porous, as in the case of concrete – for protection and long-lasting purposes. This article can help you clarify that aspect of it.
Get professional installation and maintenance services for the best possible outcome!
As you can see, the installation process is not exactly difficult, it just requires precision and patience.
The best course of action is still to hire professionals to help you with the whole process. They can help you choose the pavers, as we previously mentioned, and can also perform the installation for you.
Here at S&S Pavers, we’ve been offering that service for 10+ years, with a high satisfaction rate from our customers. We have served many homeowners in the Sarasota and Manatee counties with top-quality paver installation and maintenance!
If you’re around the area, you can get in contact any time for a free estimate of our services. Call us right now at 941-773-3098 or email us at sales@sspavers.com! We would be happy to hear from you.