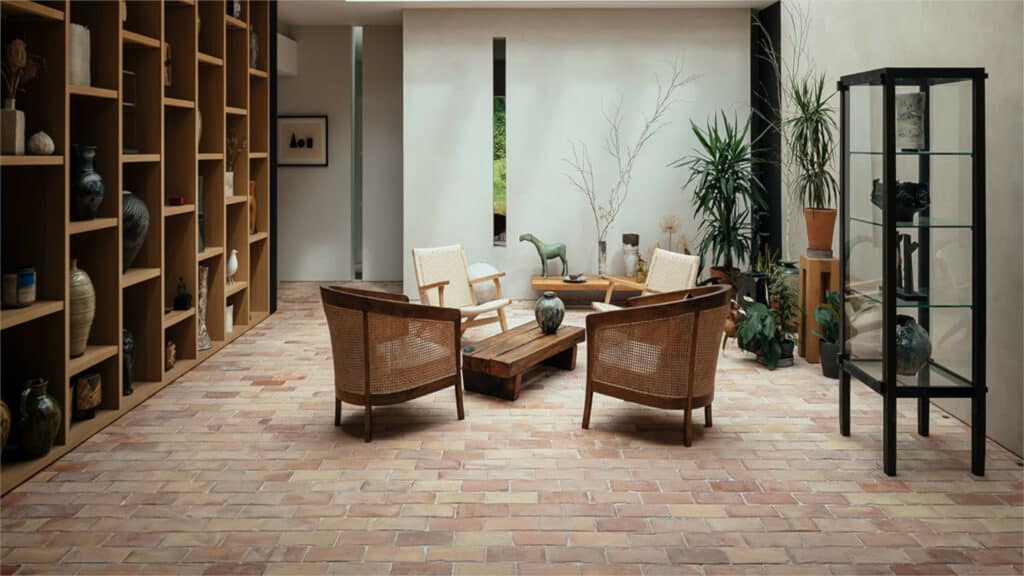
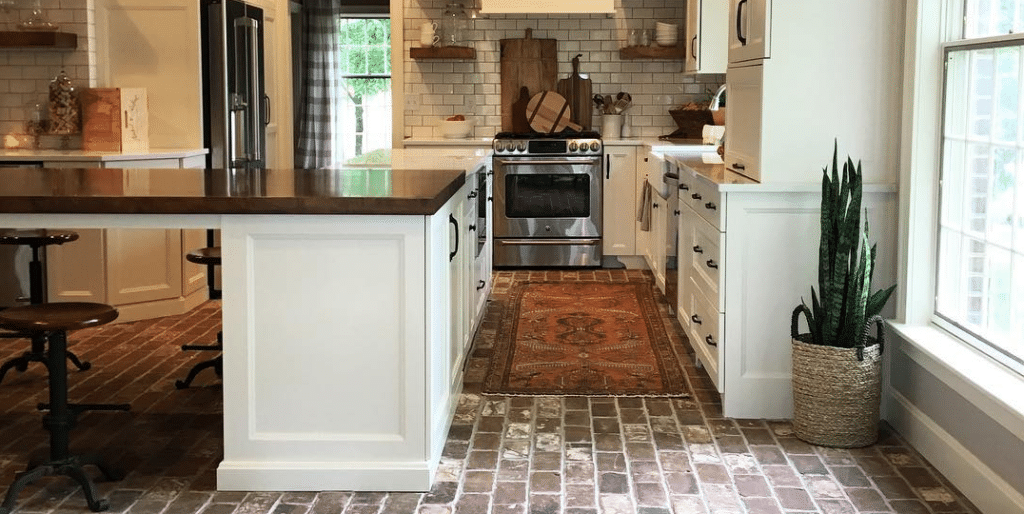
Brick pavers are a versatile and timeless flooring option that can add warmth and character to any indoor space. Whether you’re looking to enhance the aesthetics of your living room, kitchen, or hallway, brick pavers can offer everything you need. But how to install brick pavers indoors?
Our goal with this article is to present you with a step-by-step guide that will help you navigate the process and create a charming, rustic atmosphere within your home. So let’s get right to it.
How to install brick pavers indoors
To better answer the question of how to install brick pavers indoors, we want to start by giving you a comprehensive list of materials you’re going to need. Then we’re going to move on to talk about all the steps in detail.
- Brick pavers
- Thin-set mortar
- Grout
- Sealer
- Backer board
- Primer
- Tape measure
- Chalk line
- Level
- Notched trowel
- Rubber mallet
- Tile spacers
- Tile saw or wet saw
- Grout float
- Soft-bristle brush
Step 1: Prepare the surface
Begin by thoroughly cleaning the area where the pavers will be installed. Remove any debris, dirt, or vegetation to create a clean canvas for the project.
This not only enhances the aesthetics but also prevents any potential issues that may arise from uneven surfaces.
Ensure that the surface is completely dry before proceeding further. Moisture can compromise the adhesion of materials and affect the overall stability of the paver installation.
If the installation site is prone to moisture or dampness, take the necessary precautions, such as allowing ample time for drying or implementing moisture barriers to protect the integrity of the project.
Addressing uneven surfaces is paramount to achieving a smooth and long-lasting installation. If the existing floor is not level, consider installing a backer board. Backer boards provide a stable foundation, compensating for irregularities and creating a uniform surface for the brick pavers.
Once the surface is adequately prepared, the next step is to apply a primer. The primer serves as a bonding agent between the surface and the adhesive or mortar that will be used to affix the brick pavers.
Carefully follow the manufacturer’s instructions for the specific primer you’ve selected, ensuring thorough coverage. Allow sufficient drying time for the primer to set and create a secure foundation for the pavers.
Step 2: Plan the layout
Planning the layout of brick pavers is a crucial step in ensuring a visually appealing and structurally sound installation. The use of a tape measure and chalk line is instrumental in achieving precision and symmetry throughout the project.
Identify the center of the room or the area where you intend to lay the brick pavers. This point will serve as the focal point for your design and ensure a balanced layout. Measure the dimensions of the room and mark the center using a small chalk mark.
Use the tape measure to extend reference lines from the center point to the edges of the room. These lines will act as guides for laying the first row of bricks. Measure and mark equal distances on both sides of the center point to maintain symmetry.
Depending on the size of the pavers and the overall design, divide the area into smaller sections. This helps in managing the installation process and prevents errors that may arise from attempting to cover the entire space at once.
If your design includes border elements, plan for these by measuring and marking the border width along the edges of the room. Adjust the reference lines accordingly to accommodate these features and avoid awkward cuts at the perimeter.
With the reference lines in place, use the chalk line to create straight and even guidelines for the first row of pavers. Secure the chalk line at one end of the room, stretch it taut along the reference line, and snap it against the floor to leave a visible chalk mark.
Start laying the pavers from the center point and work outward along the chalk lines. This method ensures that any variations or adjustments occur gradually, reducing the likelihood of awkward cuts or misalignments at the edges.
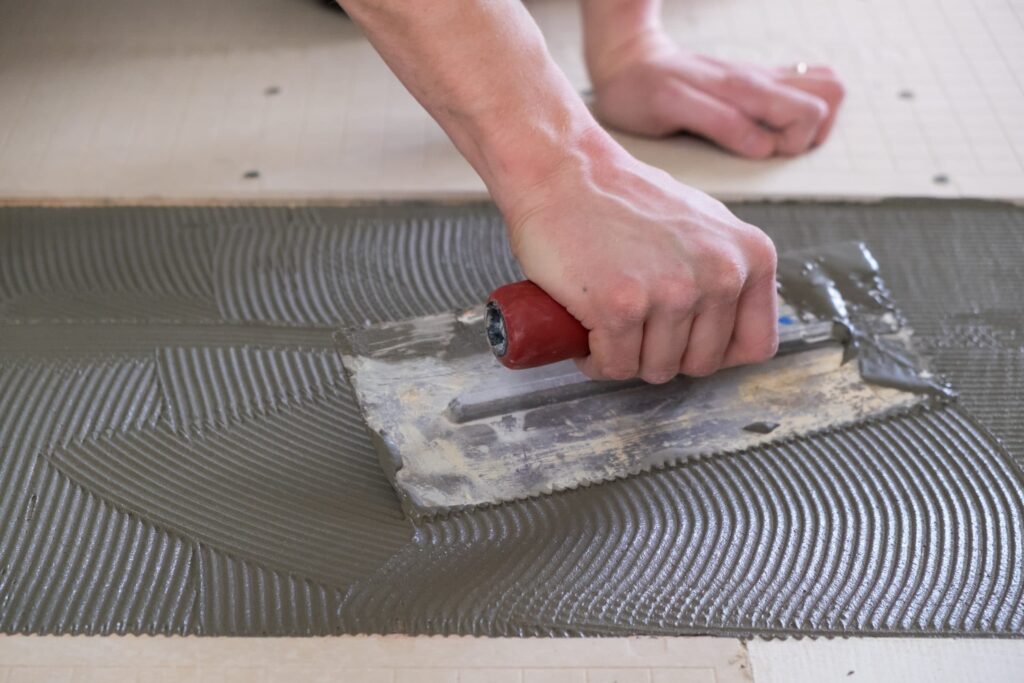
Step 3: mix and spread the thin-set mortar
To ensure a successful and durable brick paver installation, it’s essential to meticulously prepare and apply the thin-set mortar. Follow the manufacturer’s instructions diligently when mixing the thin-set mortar, as this guarantees the right balance of water and powder for optimal adhesion and strength.
Consistency plays a pivotal role in the application process, so pay close attention to achieving a smooth and lump-free mortar mix. If the mixture is too dry, it may result in weak adhesion, while an overly wet mixture can lead to slippage and difficulty in supporting the weight of the pavers.
Once the thin-set mortar is appropriately mixed, employ a notched trowel for the application.
The notches on the trowel create ridges in the mortar bed, enhancing the bond between the substrate and the pavers. Choose a trowel with the recommended notch size specified by the pavers and thin-set manufacturer to achieve the desired coverage and support.
When spreading the mortar, work in manageable sections to ensure that the mortar does not dry out before laying the pavers.
Begin at the center of the surface and use the notched side of the trowel to spread the mortar evenly, maintaining consistent ridges. The even distribution of mortar helps prevent lippage, ensuring a level and aesthetically pleasing pavers surface.
As you work, periodically check the back of a test tile to confirm the proper coverage. The goal is to achieve a full mortar-to-tile contact, so adjust your technique if necessary to guarantee that each tile bonds securely to the substrate.
Step 4: lay the brick pavers
Once the mortar is in place, gently position each brick paver onto the surface, aligning them meticulously with the chalk lines from your layout.
The use of a rubber mallet becomes essential at this stage. Employ a tapping motion to securely set each brick into the thin-set mortar. This process not only ensures proper adhesion but also aids in achieving a level surface.
Take care to periodically check the levelness of the bricks and adjust as necessary. A level surface is not only aesthetically pleasing but also contributes to the structural integrity of the installation.
You can incorporate tile spacers between each brick to maintain consistent gaps. Select spacers that match your desired grout width, as they will determine the final appearance of the paved surface.
As you progress, periodically step back to assess the overall alignment and pattern of the brick pavers, and remember to work in smaller sections, gradually moving across the entire surface.
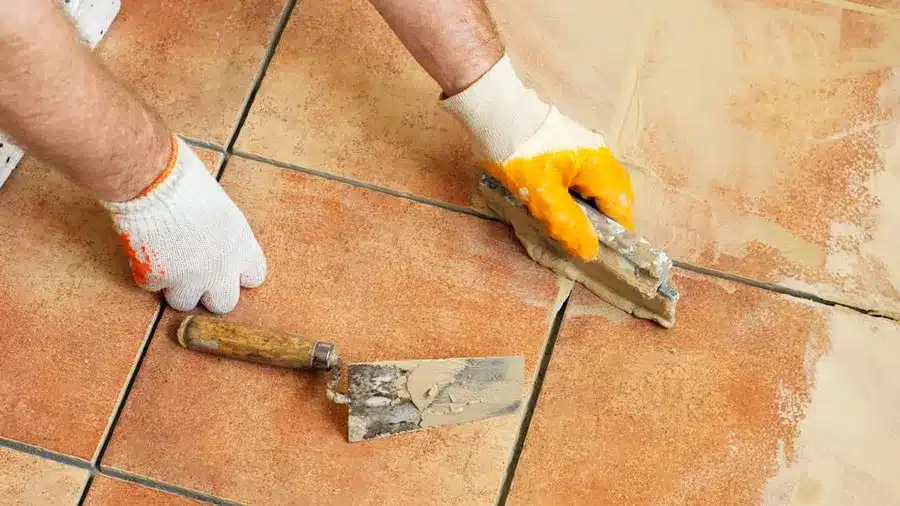
Step 5: Apply grout
Allow the mortar to set and cure according to the manufacturer’s recommendations. This typically takes 24 to 48 hours, depending on the specific product used.
Once the mortar is set, mix the grout according to the manufacturer’s instructions, and use a grout float to fill the gaps between the brick pavers.
The grout float is a tool with a rubber base that allows you to apply grout in a controlled manner, ensuring that the gaps are adequately filled. Work the grout into the spaces, making sure it reaches the bottom to provide proper support.
While applying the grout, be attentive to the joints, corners, and edges, ensuring that every crevice is filled uniformly. This meticulous approach not only contributes to the structural integrity but also enhances the visual appeal of the finished project.
After applying the grout, the next step is to wipe away excess grout using a damp sponge.
This must be done carefully to avoid disturbing the position of the bricks. The sponge should be damp enough to facilitate easy removal of excess grout but not overly wet, as excessive water can weaken the grout and affect its curing process.
Move the damp sponge diagonally across the brick pavers, applying gentle pressure to remove excess grout while smoothing the surface. Rinse the sponge frequently to maintain its effectiveness and prevent the spread of grout residue.
Once the grout application is complete, allow it to dry completely. Follow the recommended drying time the grout manufacturer provides, as this ensures optimal curing and hardening. During this period, it is advisable to protect the newly grouted area from foot traffic or adverse weather conditions.
Step 6: seal the bricks
To protect the bricks from stains and moisture, apply a sealer according to the manufacturer’s instructions. This step helps maintain the longevity and appearance of your indoor brick paver floor.
Choosing an appropriate sealer tailored to the specific needs of indoor brick surfaces is essential. Brick sealers are formulated to create a protective barrier that prevents liquids, oils, and other substances from penetrating the porous surface of the bricks.
The application process itself demands meticulous attention to detail.
Begin by thoroughly cleaning the surface to remove any dirt, dust, or debris that may compromise the effectiveness of the sealer.
Once the surface is clean and dry, carefully follow the manufacturer’s instructions for applying the sealer. This typically involves using a suitable applicator, such as a brush or roller, and ensuring even coverage across the entire floor.
Allow ample time for the sealer to dry and cure, as per the recommended drying times provided by the manufacturer.
This curing period is critical for the sealer to form a robust protective layer on the brick surface. During this time, it is advisable to restrict foot traffic and any potential contact with liquids to avoid compromising the efficacy of the sealer.
Start your brick paver indoor installation today
As you can see, installing brick pavers indoors can be a challenging but rewarding DIY project. By following these step-by-step instructions and exercising patience and precision, you can create a beautiful indoor space that exudes warmth and character.
However, if you have no previous experience with hardscape, things can quickly get out of hand, so you need to be mindful of that. Pavers are a somewhat costly investment, so you want to make sure you have the best possible installation for them to be worth it.
If you don’t think you can handle a project like that from a DIY perspective, your best course of action is to hire professional hardscape contractors to help you with it.
We here at S&S Pavers, over our 13 years of experience in the field, have seen many disastrous DIY installations that ended up costing more in maintenance in the long run when compared to the cost of having a professional installation.
So don’t hesitate to hire hardscape professionals you can trust around your area to help you with your project. If you happen to be around our area of activity, Sarasota and Manatee counties, in FL, you can always contact us for a free estimate of our services so we can start providing that help for you.