Stepping stones are the favorite hardscape elements of many homeowners. Not only they are functional additions to your garden or walkway but they’re also an opportunity to infuse your outdoor space with your unique personality and style. So today, in this article, we want to teach you how to make stepping stones.
Creating your own stepping stones can be a fulfilling and creative project that allows you to add a personal touch to your landscape. In this guide, we’ll walk you through the process of making customized stepping stones that will leave a lasting impression on your visitors.
Creating your own stepping stones can be a cheap alternative if the price of natural stepping stones doesn’t fit your budget. But we will talk about those things ahead – for now, let’s guide you on how to make stepping stones.
Don’t miss: Rubber Stepping Stones – Are They Right For You?
How to make stepping stones: tools and materials
First things first, before embarking on this concrete crafting journey, it’s crucial to gather all the necessary materials to ensure a safe and rewarding crafting experience.
By taking the time to prepare ahead, you’ll set yourself up for success and create stunning stepping stones that you can proudly display in your garden or outdoor space.
- Concrete Mix
Head to your local hardware store and get your hand on some bags of quick-setting concrete mix. This specialized mixture contains the right proportions of cement, sand, and aggregate, ensuring optimal strength and durability for your stepping stones. - Molds
Choose the molds that best fit your artistic vision. Plastic molds, old cake pans, or even unconventional containers like pizza boxes or wooden frames can serve as your canvas. Opt for molds that suit the desired size and shape of your stepping stones. - Release Agent
To prevent your concrete from sticking to the molds, a release agent is essential. Select a reliable option like cooking spray or petroleum jelly. Apply a thin layer to the interior of your molds before pouring the concrete in it. - Decorative Elements
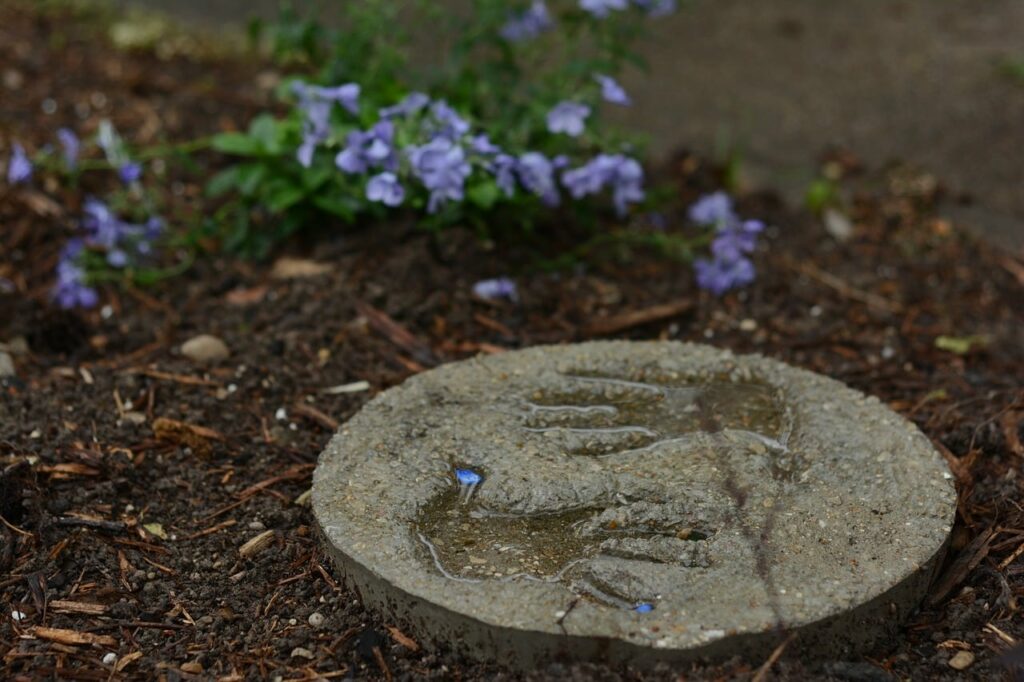
Elevate your stepping stones by embedding decorative elements within them. Let your creativity shine with options like glass beads, colored stones, shells, tiles, or any other small items that resonate with your style. These elements will add personality and charm to your final creations. - Protective Gear
Prioritize your safety by using appropriate protective gear. Wear gloves to shield your hands from the abrasive nature of the concrete mix. Safety goggles will safeguard your eyes from any airborne particles, and a dust mask will protect your respiratory system from inhaling concrete dust. - Mixing Tools
A successful crafting process hinges on proper mixing. Equip yourself with a sturdy bucket for containing and mixing the concrete. A trowel will assist you in achieving the right consistency, while water is crucial for activating the concrete mix. - Stir Stick or Dowel
For an even and smooth surface, ensure you have a reliable tool for stirring and leveling the concrete within the molds. A simple stir stick or dowel will help you achieve a consistent finish. - Plastic Wrap or Wet Cloth
Enhance the curing process by utilizing plastic wrap. Covering your molds with plastic wrap after pouring the concrete will create a controlled environment, promoting proper hydration and preventing rapid moisture loss. This step is optional, yet it can contribute to the overall quality of your stepping stones.
Step-by-step guide on how to make stepping stones
Step 01 – Choosing a design
When it comes to designing your stepping stones, their size and shape play a crucial role in determining the overall aesthetic and functionality of the path.
Your choice of stepping stone size and shape can evoke different moods, enhance the natural landscape, and create a visually captivating experience for anyone who walks along the path.
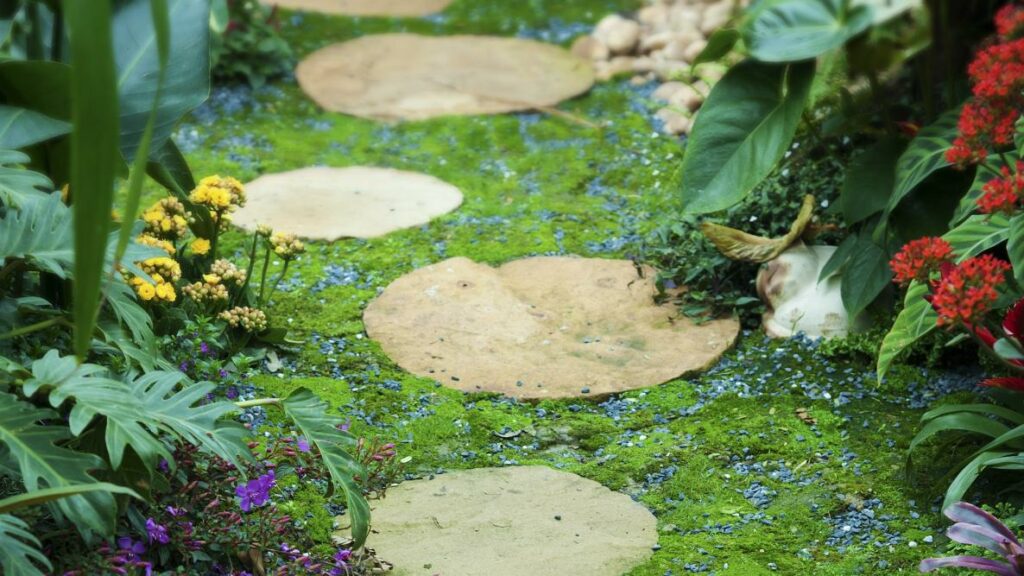
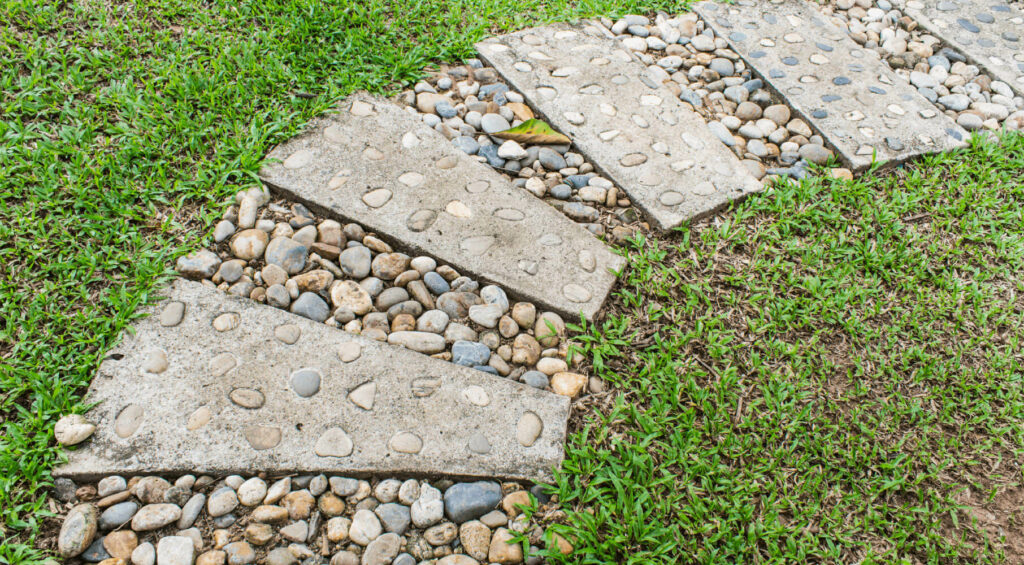
Opting for traditional circular stepping stones is a classic choice that offers a timeless and balanced look.
Circular stones provide a sense of continuity and simplicity, making them suitable for both formal and informal gardens. Their uniform shape allows for easy placement, ensuring a smooth and straightforward path for walkers.
You can choose to keep the circles consistent in size for a neat and orderly appearance or vary the sizes slightly for a more organic feel.
Using irregular, natural-shaped stones for your stepping stone pathway creates a more rustic and harmonious look that blends seamlessly with the surrounding environment.
These stones can be handpicked to mimic the appearance of stepping stones found on a riverbed or along a forest trail. Their uneven shapes add an element of surprise and a touch of wilderness to your landscape.
Irregular stones lend themselves to a more informal and relaxed garden style, perfect for those who want a natural and unpretentious feel to their outdoor space.
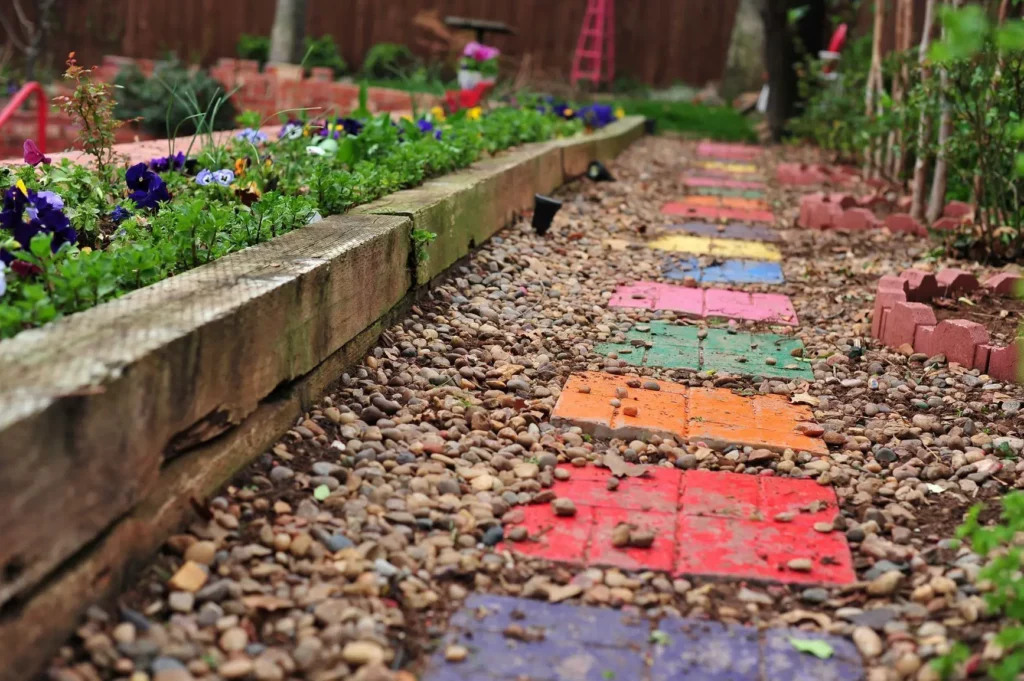
And for a truly artistic and unique pathway, consider creating mosaic-like patterns using smaller molds.
This option allows you to unleash your creativity by arranging smaller stones, glass pieces, or ceramic tiles in intricate designs. These patterns can range from geometric shapes to intricate motifs, and they can be as bold or subtle as you desire.
Mosaic stepping stones can transform your pathway into a work of art, inviting people to stop and appreciate the detailed craftsmanship.
Step 02 – Preparing the molds
Coating the inside of the molds with a release agent is a crucial step in the concrete casting process, as it facilitates the smooth and hassle-free removal of the hardened concrete from the molds.
This preventive measure not only saves time but also ensures the integrity of the final concrete piece, especially when dealing with intricate designs and complex molds.
Choose a release agent that is suitable for the specific type of concrete being used and compatible with the mold material. There are various types available, including oil-based, water-based, and wax-based options.
Before applying the release agent, ensure that the mold is clean and free from any debris, dust, or residual concrete. Cleaning the mold’s surface helps the release agent adhere better and provides a consistent barrier.
Depending on the type of release agent you’re using, follow the manufacturer’s instructions for application.
If using a spray-on release agent, hold the spray nozzle about 6 to 12 inches away from the mold and spray evenly, ensuring complete coverage. For other types of release agents, you may need to brush or wipe them onto the mold’s surface.
Pay special attention to intricate details, corners, and recesses of the mold. These areas are more prone to concrete sticking, so make sure to apply an adequate amount of release agent to prevent any bonding.
Some release agents may require a drying or curing period before pouring the concrete. Follow the recommended drying time to ensure the release agent is fully set before proceeding.
Step 03 – Mix the concrete
To create a successful and durable concrete mixture, it’s crucial to carefully follow the instructions provided on the concrete mix bag.
These instructions are designed to help you achieve the optimal balance of water, aggregates, and cement, resulting in a workable mixture that forms the foundation for various construction projects.
Accurate measurement of water is crucial for achieving the desired consistency. Use a measuring container or a hose with a controlled flow to add water.
It’s recommended to use clean, potable water, as impurities in the water can affect the quality of the concrete.
Empty the contents of the concrete mix bag into your mixing container. Break up any clumps in the mix to ensure uniform distribution of the materials.
In an ideal scenario, you would have someone to help you slowly add the water while you continuously mix the aggregate. This can be done manually using a shovel or a hoe, or with the help of a concrete mixer.
Keep a close eye on the consistency of the mixture. The desired consistency is often likened to that of cake batter. The mixture should be workable, meaning it can be easily shaped, molded, and poured.
To determine if the mixture is ready, perform a slump test. Fill a cone-shaped tool with the mixture, then lift the cone vertically. The consistency should allow the mixture to hold its shape without slumping excessively.
Step 04 – Pouring (and decorating) the concrete
Before you begin, ensure you have a clean and flat work surface. Place the mold on a level platform to prevent any imbalances or uneven pouring.
Gently pour a thin layer of the mixed concrete into the mold. This initial layer should be approximately half the thickness of the final stepping stone.
Spread the concrete evenly within the mold, ensuring it reaches all corners. The use of a small trowel or a flat piece of wood can achieve an even surface.
Now comes the creative part. If you have chosen some decorative elements, now is the time to place them onto the freshly poured concrete.
Be mindful of the arrangement, as this will determine the final aesthetic of your stepping stone. Press the elements gently into the concrete, embedding them to a suitable depth. The goal is to ensure they are securely fixed and won’t dislodge once the concrete sets.
After arranging the decorative elements, pour the remaining mixed concrete on top. Use a trowel or another flat tool to spread and level the concrete, ensuring a smooth surface.
Make sure the decorative elements are covered with a sufficient layer of concrete to provide stability and longevity.
To remove air bubbles and settle the concrete, tap the mold gently on a firm surface. You can also lightly shake or vibrate the mold to help the concrete settle and ensure a solid bond between the decorative elements and the concrete.
Step 05 – Curing and drying
To ensure optimal curing and enhance the durability of your concrete stepping stone, it’s crucial to pay careful attention to the curing process, something that is often overlooked in this type of DIY practice.
After you’ve poured the concrete into the mold and arranged the decorative elements, cover the entire mold with a sheet of plastic wrap or a damp cloth.
This serves a dual purpose: it prevents rapid evaporation of moisture from the concrete, and it creates a controlled environment for curing. Adequate moisture is essential for the chemical reactions that contribute to concrete’s strength and resilience.
The plastic wrap or damp cloth acts as a barrier to slow down the evaporation of water from the concrete mix. This is important because if concrete dries out too quickly, it may lead to surface cracks, reduced strength, and a less durable end product.
By maintaining consistent moisture levels, you allow the concrete to properly hydrate, which contributes to its overall strength and longevity.
The curing time for concrete stepping stones typically ranges from 24 to 48 hours. This duration allows the concrete to develop sufficient initial strength and hardness.
However, keep in mind that the exact curing time can vary based on factors such as ambient temperature, humidity levels, and the specific concrete mix you’re using. Refer to the instructions on your concrete mix packaging for the manufacturer’s recommended curing time.
The curing process is influenced by the surrounding environmental conditions. Warmer temperatures can accelerate the curing process, while colder temperatures may slow it down.
To maintain consistent curing conditions, consider placing the mold in a shaded area away from direct sunlight and extreme temperature fluctuations. If needed, you can use additional means to regulate temperature and humidity, such as placing the mold in a greenhouse or using a humidifier.

Step 06 – Demolding
Begin the process by ensuring a controlled and methodical approach to removing the stepping stones from their molds. This phase requires patience and precision to guarantee the integrity of the stones.
If the stepping stones exhibit resistance, take a cautious approach by employing a gentle tapping technique. Gently tap the mold along the edges and sides using a rubber mallet. This helps to dislodge the stone from the mold without causing any damage.
Focus on releasing the stepping stones incrementally rather than applying excessive force. Rotate the mold as you tap to evenly distribute the pressure and prevent any undue stress on one particular section.
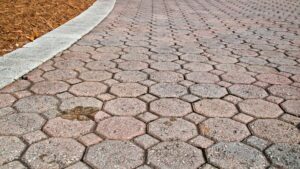
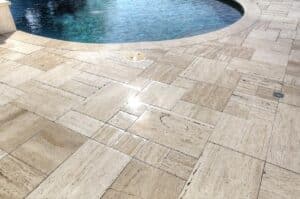
Real vs. DIY stepping stones
And that should do it! Now you have a beautiful and resistant set of DIY stepping stones.
As we mentioned in the beginning, they can be a cheap alternative if your budget doesn’t fit real stepping stones. However, you should keep in mind that, even if your DIY stepping stones turn out great, they won’t last very long and require much more maintenance.
So, even though real stepping stones have a higher initial cost, in the long run, you might end spending the same amount on both options. Actually, if you get creative with your design, you can find many options of stepping stones that are surprisingly affordable.
The best course of action is to find a professional hardscape contractor you can trust around your area to talk about the costs and possibilities of your project.
And if you happen to be around the Sarasota and Manatee counties, you can always contact us here at S&S Paver to provide that help for you. We would be glad to add you to our long list of satisfied customers.