Proper drainage is crucial for any outdoor space, whether it’s a patio, walkway, or driveway. Learning how to slope pavers for drainage correctly will not only enhance the longevity of your project but also contribute to the overall aesthetics and functionality of your outdoor area.
When installing pavers, ensuring an effective slope for drainage is essential to prevent water pooling, erosion, and potential damage to the paved surface. In fact, making a proper slope is, most of the time, the hardest element in a paver installation.
In this guide, we want to walk you through the process of sloping pavers for optimal drainage. Then you can determine if it’s something you can tackle from a DIY perspective or if you would rather hire qualified professionals to help you!
You may also like: How to build a paver wall – 4-step guide
How to slope pavers for drainage: 5 easy steps
1. Assess the site
The first order of business is to thoroughly evaluate the site to understand its topography and drainage patterns.
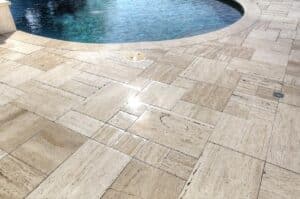
Take note of any natural slopes and determine the direction of water runoff. Prioritizing directing water away from nearby structures, such as your home or garage, towards appropriate drainage outlets like garden beds, lawns, or designated drainage systems is essential.
Additionally, consider factors such as soil composition and potential erosion risks to inform your planning process effectively.
2. Plan the slope
Following the site assessment, it is time to plan the slope for your pavers to ensure optimal drainage.
While a slope of 1/4 inch per foot (2% slope) is commonly recommended for adequate water runoff, it’s important to verify this requirement against local building codes and specific project needs. Factors such as anticipated rainfall intensity and surface area coverage should influence your slope design decisions.
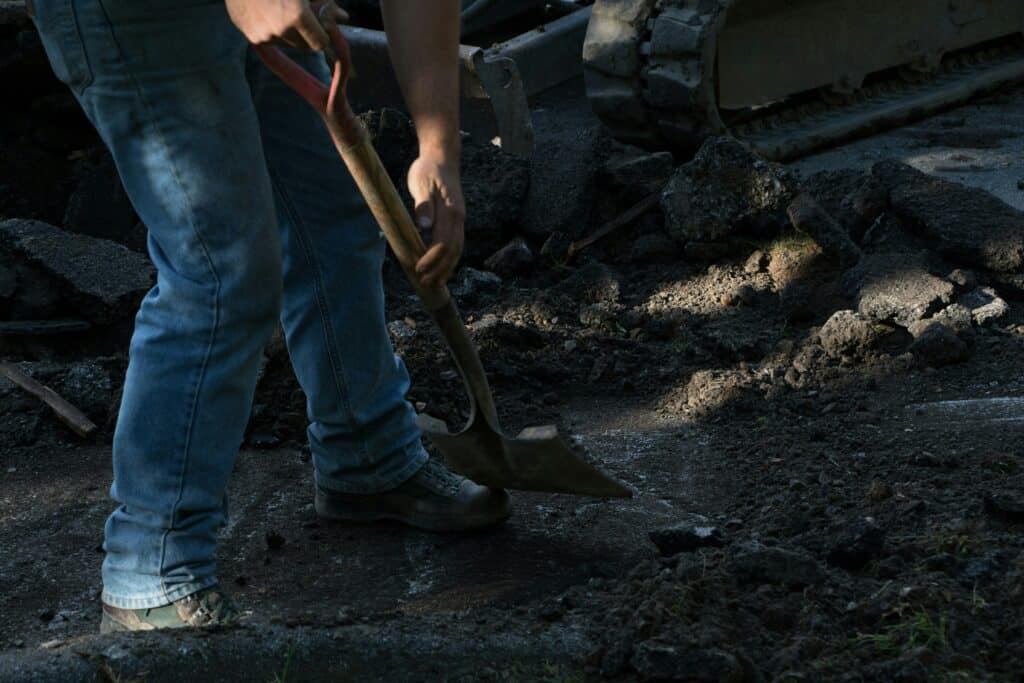
3. Prepare the base
Base preparation is one of the most significant aspects of how to slope pavers for drainage.
Begin by excavating the designated area to the appropriate depth, typically ranging from 6 to 8 inches for pedestrian spaces and up to 12 inches for driveways.
Thoroughly compact the soil to promote stability, then add a suitable base material like crushed gravel or stone dust, ensuring uniformity and adherence to the planned slope. Proper compaction at this stage is crucial for preventing future settling issues and maintaining the integrity of the slope.

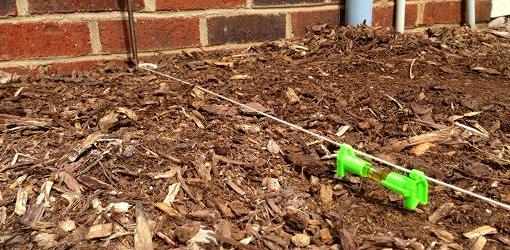
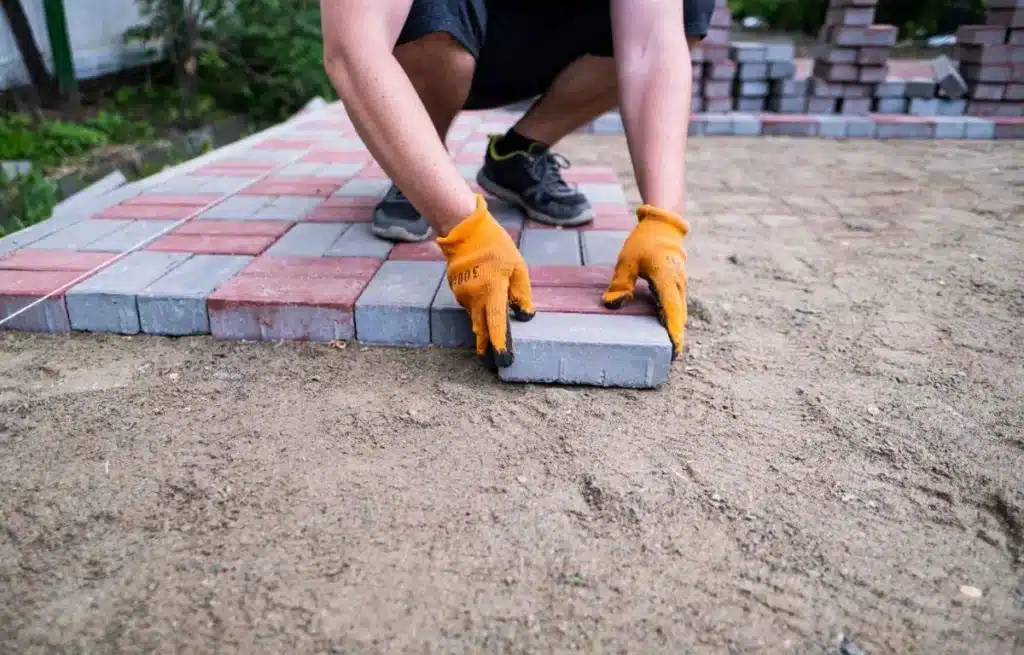
4. Establish string lines
Maintaining consistent slope alignment throughout the project is essential for achieving optimal drainage performance.
Establish string lines along the edges of the paver installation area using stakes and mason’s line. These string lines serve as visual guides to ensure the accurate implementation of the planned slope, facilitating precision and uniformity during the installation process.
5. Testing the drainage
After completing the project, test the drainage by spraying water over the surface with a hose. Observe the flow of water and ensure it follows the intended slope, draining away from structures and pooling areas.
It’s ideal to conduct the drainage test soon after completing the project while the soil and any newly laid materials are still settling. This allows any necessary adjustments to be made promptly.
Check for any areas where water accumulates or pools. These spots may indicate issues with the slope or the effectiveness of drainage features such as gutters, swales, or drains.
If any deficiencies are identified during the test, make adjustments as necessary. This may involve tweaking the slope, clearing obstructions from drainage channels, or installing additional drainage features.
After making adjustments, repeat the drainage test to verify the effectiveness of the changes. Iterative testing and adjustment may be necessary to achieve optimal drainage performance.
The importance of a proper slope
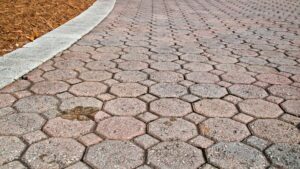
One of the primary functions of slope in a paver installation is to ensure proper drainage of water away from the surface.
Without an adequate slope, water can pool on the surface, leading to water damage, erosion, and potential structural issues over time. Proper slope allows rainwater to flow away from the paved area, preventing pooling and potential flooding.
This is important because standing water on a paved surface can create safety hazards, such as slippery conditions or ice buildup in cold climates.
Proper slope also helps maintain the structural integrity of the paved surface by preventing water from infiltrating the base materials. Excess moisture can weaken the foundation, leading to settlement, cracking, and other forms of damage.
In cold climates, improper slope can contribute to frost heave, a phenomenon where moisture in the soil freezes and expands, causing the ground to heave upwards. This can lead to uneven surfaces, cracked pavers, and other issues.
Proper slope allows water to drain away efficiently, reducing the likelihood of frost heave occurring.
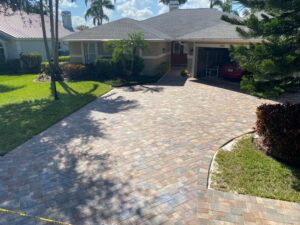
Beyond functionality, proper slope also contributes to the aesthetic appeal of the paved area. A smoothly sloped surface looks more visually pleasing and professional compared to one with irregularities or puddles. It helps maintain the overall appearance and value of the property.
DIY of professional help?
Ensuring how to slope pavers for drainage is essential for any successful outdoor paving project. But, as you can see, things might seem more complicated than thought at first.
By following these instructions and paying attention to detail, you can try to tackle it from a DIY perspective. But given the importance of slope, if you are unsure you can handle it by yourself, your best course of action is to hire professional hardscape contractors to help you.
We here at S&S Pavers have been working in the hardscape business for the past 14 years, and we have seen many disasters happen in paver installations due to bad sloping. So don’t risk it. Unless you are 100% sure of what you’re doing, your best bet is to hire professionals you can trust around your area.
And if you happen to be near us here at the Sarasota and Manatee counties, in FL, we can gladly provide that help for you.
Get in contact right for a free estimate on our services and take the first step in your next hardscape project today.