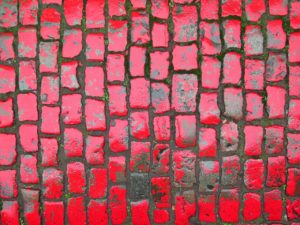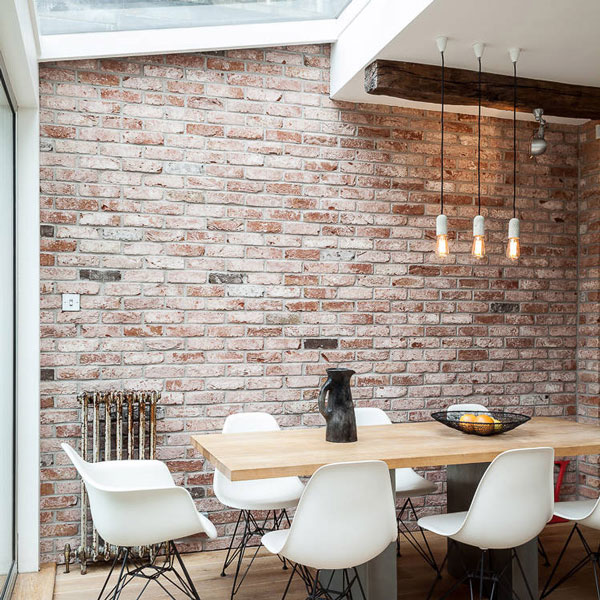
With a simple 50/50 mixture of water and white latex paint, you can whitewash your red pavers and give them a stylish new look.
Whitewashing is a process that consists in, quite literally, washing a surface with water and white paint. This masks the effects of time on old paver, specially the brick ones, and gives them a sometimes much needed new look. It is a fun DIY painting project than can easily be done in an afternoon.
We’re going to walk you through the steps of the process and teach you how to safely and optimally whitewash your red pavers.
Step 1 – Before Whitewashing, You Need to Clean Your Pavers
Cleaning is a very important part of the whitewashing process. If you don’t clean it first, the whitewash will not be evenly absorbed by the surface and you won’t be able to achieve the right shade of white. When cleaning, you need to be extra careful when it comes to brick pavers. They may look sturdy, but they can easily be damaged by harsh cleaning products.
You will approach this cleaning step differently according to your answer to the following question: the pavers you want to whitewash are inside or outside?
If they are outside, you require a bit more preparation. For starters, the weather must be on your side. You need a window of at least three days without rain. the pavers need to be dry before applying the whitewash, otherwise it won’t work. If the pavers are inside however, you’re good to go.
As we already mentioned, be careful when cleaning bricks. Start with a mild cleaning product, and only resort to the harshest options if you need to. Here are some options, from mild to harsh.
- Grease-cutting dish soap and salt
Do a 50/50 mix of it and slowly add water, just enough to form thick paste. Apply to the bricks using a brush, let it act for 10 minutes and then rinse it with water. - Boric acid
In one gallon of warm water, add one tablespoon of boric acid. Apply the mixture to the brick. Don’t forget to wear rubber gloves! - Ammonia
Mix a paste of 1/4 ammonia, 1/4 pumice powder and 2/4 grease-cutting dish soap. Apply the mixture to the bricks, let it sit for 10 minutes and then rinse with water. Once again, don’t forget to wear gloves.
After giving your pavers a good cleaning, let them dry for 24 hours. Make sure to sweep the pavers right before applying the whitewash.
Step 2 – Protect the area
This is an important step, especially if you’re working inside the house. Use tape to protect the areas where you don’t want to apply the whitewash. Use old newspapers or something similar to protect the floor and adjacent walls.
If you’re working outside, protect your vegetation. Especially your lawn, if you’re working with pavers adjacent to it. If possible, move plants out of the way. If not, protect them with craft paper. Craft paper can also be used to protect your lawn. Lay a good strip of craft paper on the grass, alongside the pavers you’re whitewashing. Secure them in place with bricks or other heavy objects.
Step 3 – Mix the whitewash
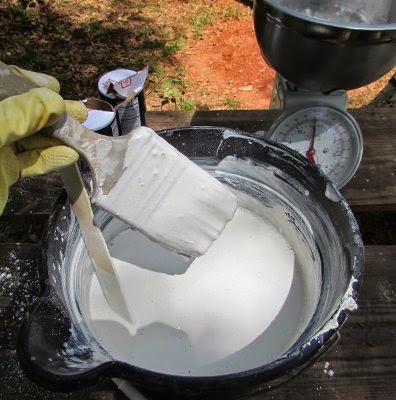
In a bucket, add equal parts of water and white latex paint. Stir it until the mixture reaches a uniform consistency. You can always control the color of the whitewash: if it gets too white, add more water, if it gets too transparent, add more paint. But be careful! Don’t forget that the whitewash will always fade a little bit as it dries.
Step 4 – Apply the whitewash
Before starting, it’s important to know that you must keep the area you’re working on small. Paint in small areas, little by little, around two-foot-square patch at a time. That is important because you’re not only going to apply the whitewash but wipe the pavers with a clean cloth as you paint along.
Dip a brush into the whitewash, making sure to remove the excess paint to avoid drips, and apply it on the pavers, always starting on the grout lines and making your way to the face of the pavers. Immediately wipe the pavers with a clean cloth to give them the washed look. Repeat this process, one section at a time, until the job is completed.
Once you’re done, remove the tapes and protections, put plants and furniture back in place, and let the whitewash dry overnight. And then that’s it! Your whitewashing is complete.
You can also hire professionals to do it for you
Sure, DIY projects can be fun and fulfilling, but sometimes the risk or making a mistake is not worth it. Especially because whitewashing is permanent, so you won’t get do-overs. If you’re uncertain about doing it yourself, is better to hire professional help to do it for you.
If you’re around the Sarasota and Manatee counties, the best professionals in the field can be found at S&S Pavers. With more than 10 years experience, they are proud to dedicate full attention to your project. Give them a call right now at 941-773-3098 for a free estimate.

