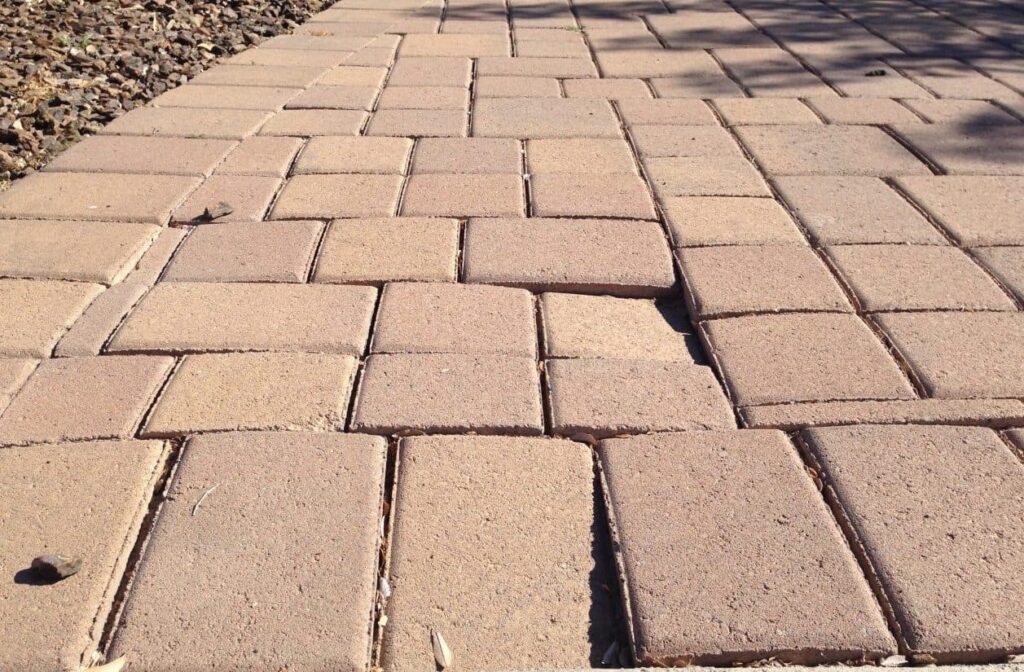
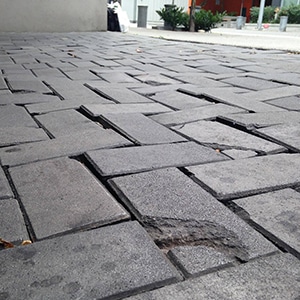
Few things in hardscape are as frustrating as sinking pavers. Not only from an aesthetic perspective, but also from a structural one. But how does it happen and how to keep pavers from sinking?
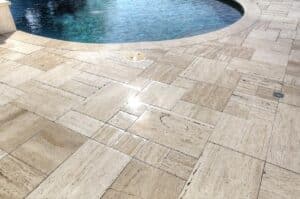
Sunken pavers completely defeat the purpose of having pavers in the first place, so it is something you want to make absolute sure it doesn’t happen. The goal when working with pavers in simple: top-notch structure and aesthetic value.
In fact, that’s the reason why pavers are so popular: because they achieve these things with ease and excellent cost benefit. However, if they start to sink, it quickly becomes a nightmare. It can even cause serious accidents.
So why does this happen? Why, in some cases, do pavers start to sink? Is it fixable or preventable? Let’s answer that and many more questions.
Why do Pavers Sink? Main Cause
There is only one reason pavers sink: bad installation.
It may sound blunt or too simplistic, but that is the reality of things. With 12 years of experience in the field under our belt, we can say with confidence that a sunken installation can only be caused by this problem and this problem alone.
As we mentioned, pavers are a wonderful hardscape element that delivers in all fronts, but that comes with a price in the complexity of the installation. And notice that something being complex is not the same of something being complicated. Let us explain.
When we say something is complex, we are referring to the many variables that need to be accounted for. These variables themselves can be quite simple, but the more variables, the greater its level of complexity.
Something complicated, on the other hand, is hard to understand by itself. It might be a single task – but if it’s too complicated, few people would be able to do it.
Paver installations are complex, but not complicated. There are many variables to be accounted for, and a mistake in either one of them can be catastrophic for the installation as a whole.
That why, although the tasks themselves are simple, we advise people against installing paver on a DIY capacity. Forgetting even one of those tasks can be extremely damaging. If you decide to go for it, make sure you are absolutely focused and certain of what you’re doing.
How to Keep Pavers From Sinking: The Basics
The first step of the installation process of pavers is to dig the place where the pavers are going to be placed. The depth of this digging might vary.
If it’s a pedestrian walkway, it usually accounts for the height of the pavers plus 1″ (for the sand base) and between 4″ and 6″ (for the road base).
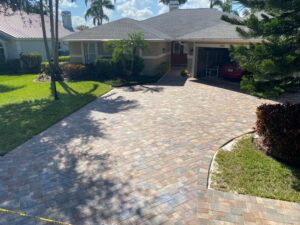
Driveways work almost the same: height of pavers plus 1″, but now you add between 8″ and 12″ for the road base.
Both the digging itself and the base that you use are crucial to establish a proper drainage for the installation. And there lies the biggest problem: a bad drainage will surely make all your pavers sink.
So the digging need to be done with a slope. You measure the distance of your installation, starting from the closest structure. For every 8 feet, you increase in 1″ the depth of your installation.
And then you add the necessary amount of road base. This base needs to be of crushed rock or gravel, and it needs to be properly compacted.
These are just the basics. No installation is the same when it comes to drainage, there are many other aspects that need to be incorporated. This article can give you a clearer idea on how it works.
How to Fix Sunken Pavers: Step by Step
Well, that depends on how bad the situation is.
If you have just a small patch of pavers that are sunken, that is fixable. But if your whole installation is uneven, presenting sunken pavers in many places, we recommend you remove all your pavers and start the installation from scratch.
To fix just a few pavers, you’ll need:
- a measuring tape;
- a level;
- two putty knives or something similar;
- road base;
- sand (both regular and polymeric).
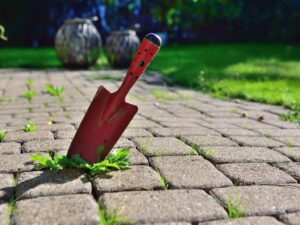
For starters, you’re going to identify the sunken pavers. Imagine that you are going to draw a circle around the sunken area. Now, starting from the edge of this circle, measure around 16” and create a wider circle. The pavers that are inside this big circle are all the pavers you need to remove.
Removing them is relatively simple. Just insert the putty knives into the grout lines between the pavers and pry it slowly to loosen them up. Once the first one is removed, the rest is easy.
With the ground beneath the pavers uncovered, now it’s time to remove all the sand and dirt from the sunken part. In order to do that, you must take careful measures with the level.
Now it’s time to spread the road base and compact it until you fill the sunken area. On top of that, you’re going to add 1″ of sand and screed it. Refer to this article for more detailed information on how to create a bedding for pavers.
Now you simply place the pavers back on, sand the installation, and reseal it after some days. That should fix your sunken pavers.
A Definite Fix: Professional Installation
That might fix your pavers for a while, but if the signs of underlying problems keep appearing, those might only be fixed by installing the pavers again – this time, though, using the proper techniques.
One of the best ways to assure that happens is to hire professional hardscape contractors to help you. That’s why we always recommend looking for hardscape experts in your area to help you.
And if you happen to be around our area of activity, why not give us a call to help you? You can contact us any time for a free estimate on our services. Call us right now at 941-773-3098 or email us at sales@sspavers.com. We would be happy to hear from you.